

"Boost Creativity on TikTok - Top 10 Free Edits for Mac Users for 2024"
Boost Creativity on TikTok - Top 10 Free Edits for Mac Users
10+ Free TikTok Video Editing Apps/Website on Mac

Shanoon Cox
Dec 14, 2023• Proven solutions
TikTok is a super popular social media platform where you can create and share short videos with some dance, song, and lip-syncing. Even though the app has built-in video editing tools that are quite effective, at times to make your videos pop, those features might not be enough if you require something unique for your video. So, to avoid using only the limited features provided by TikTok, you need to use good TikTok editing apps/websites.
In this article, we are going to tell you about the top 10+ free TikTok video editing apps/websites that you can use to edit your TikTok videos and make them stand out.
2. FlexClip
It is an online TikTok video creator and editor. You can access it for free. It has several features that you can use for creating engaging TikTok videos in the browser. You do not even have to take the trouble of installing the app on your Mac system.

To make sure that you can easily find the media resource that you need, FlexClip offers a large media library where you can search for audio, video, and photo by using a keyword. So, by using this, you will be able to edit like professionals.
Pros
● East and free to use
● Several video template
● No need to download software
● Several royalty-free media sources
Cons
● The free version is limited
● Doesn’t have an undo button
3. ClipChamp
ClipChamp is another online video editor. It has an intuitive and simple interface. With this, you will be able to enjoy great editing functions. The online TikTok video editor tool caters to all video editing requirements like splitting, cutting, and adding music or text. But this is not all, the tool will also let you apply filters and add a transition. You can access it for free. This is the best video editing tool for beginners.

Pros
● The free to use and work in the browser
● Has a large media library
● Lets you import files with just a click
Cons
● The free version offers only limited features
● You have to sign up to use
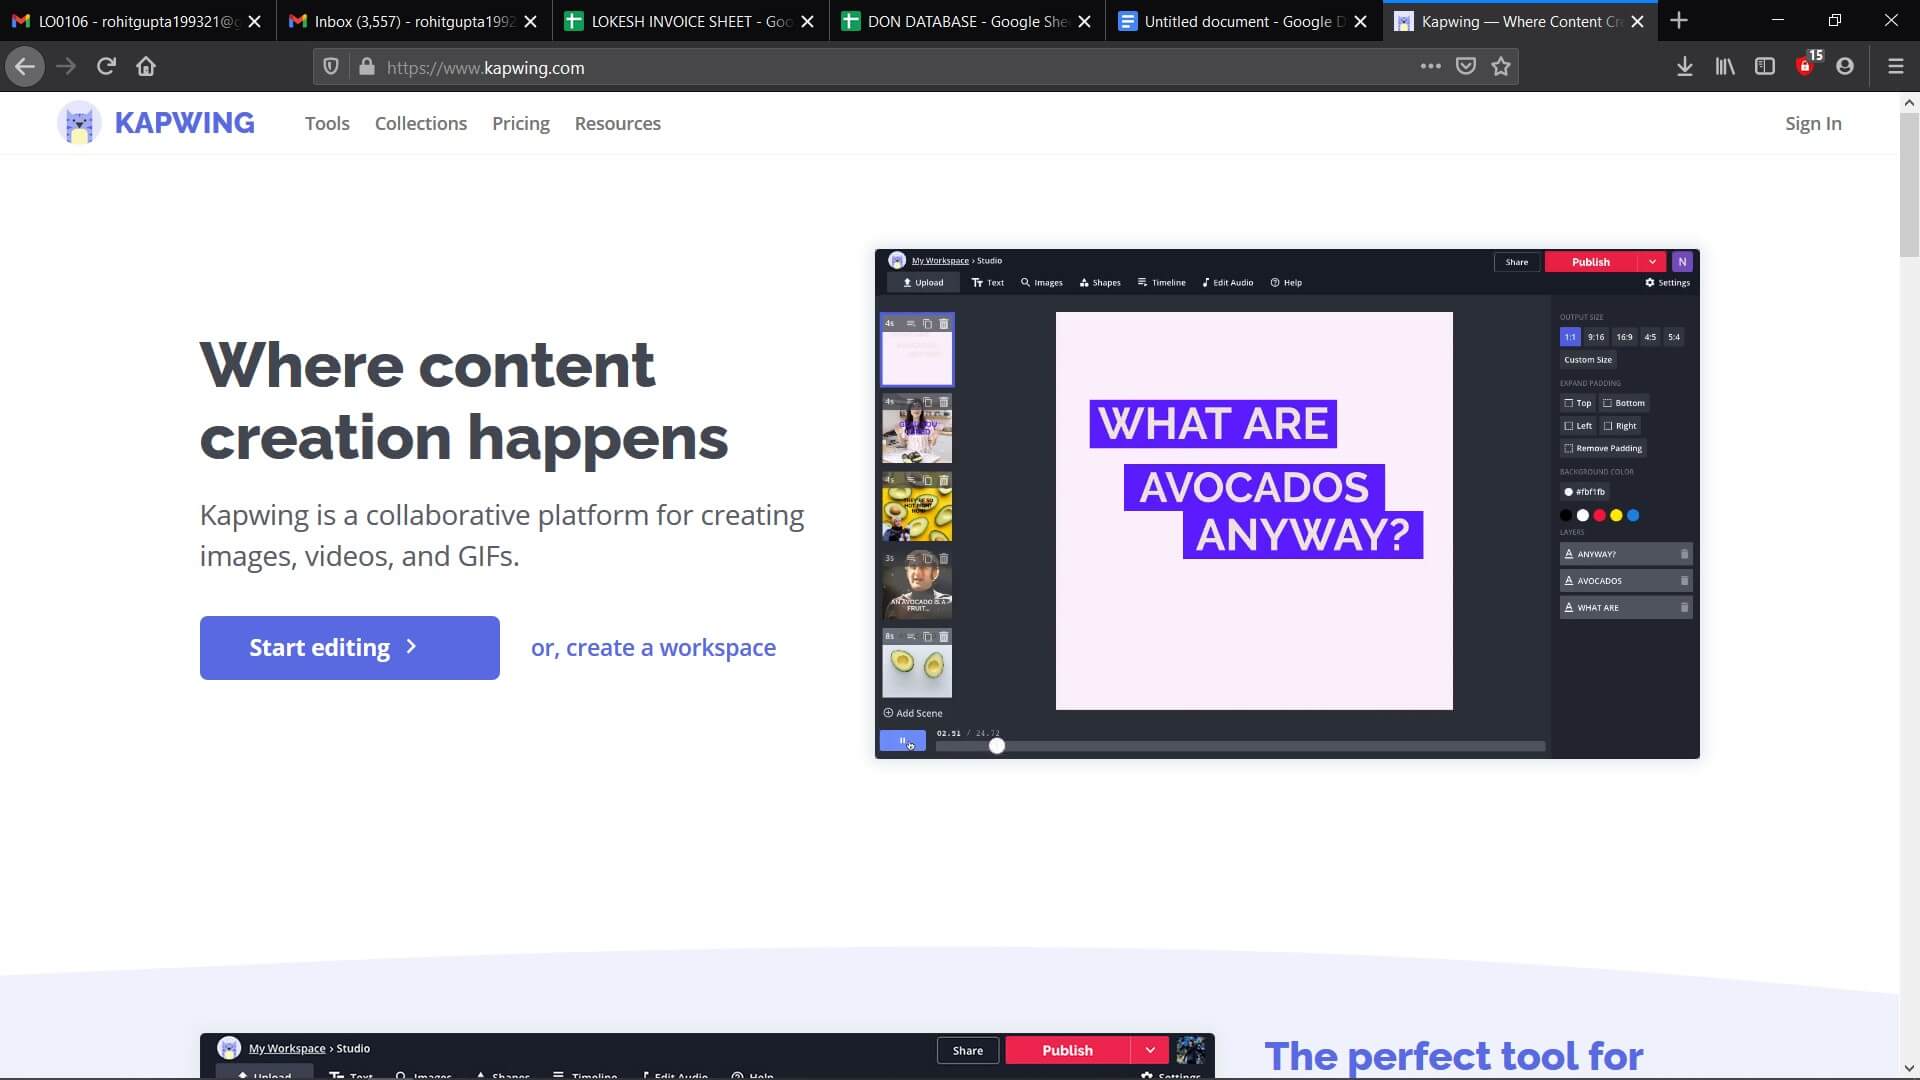
4. Kawping
Kapwing is a web-based video editor that can create amazing videos with the help of a few simple steps. All you have to do is upload the video clips to the Kapwing editor and do editing works like trimming, splitting, adding text, resizing, adding music and text, and more. One of the best things about this website is it is not going to add a watermark to the video.
Pros
● Available for free and easy to use
● Doesn’t add watermark
● Comes with several editing features
Cons
● Exports video rather slowly
● Doesn’t have media resources
5. Camtasia
This is video editing software that you can use to edit your videos for TikTok. The platform is equipped with features that optimize the creation of videos. Mac users can expect the software to run smoothly on their system.
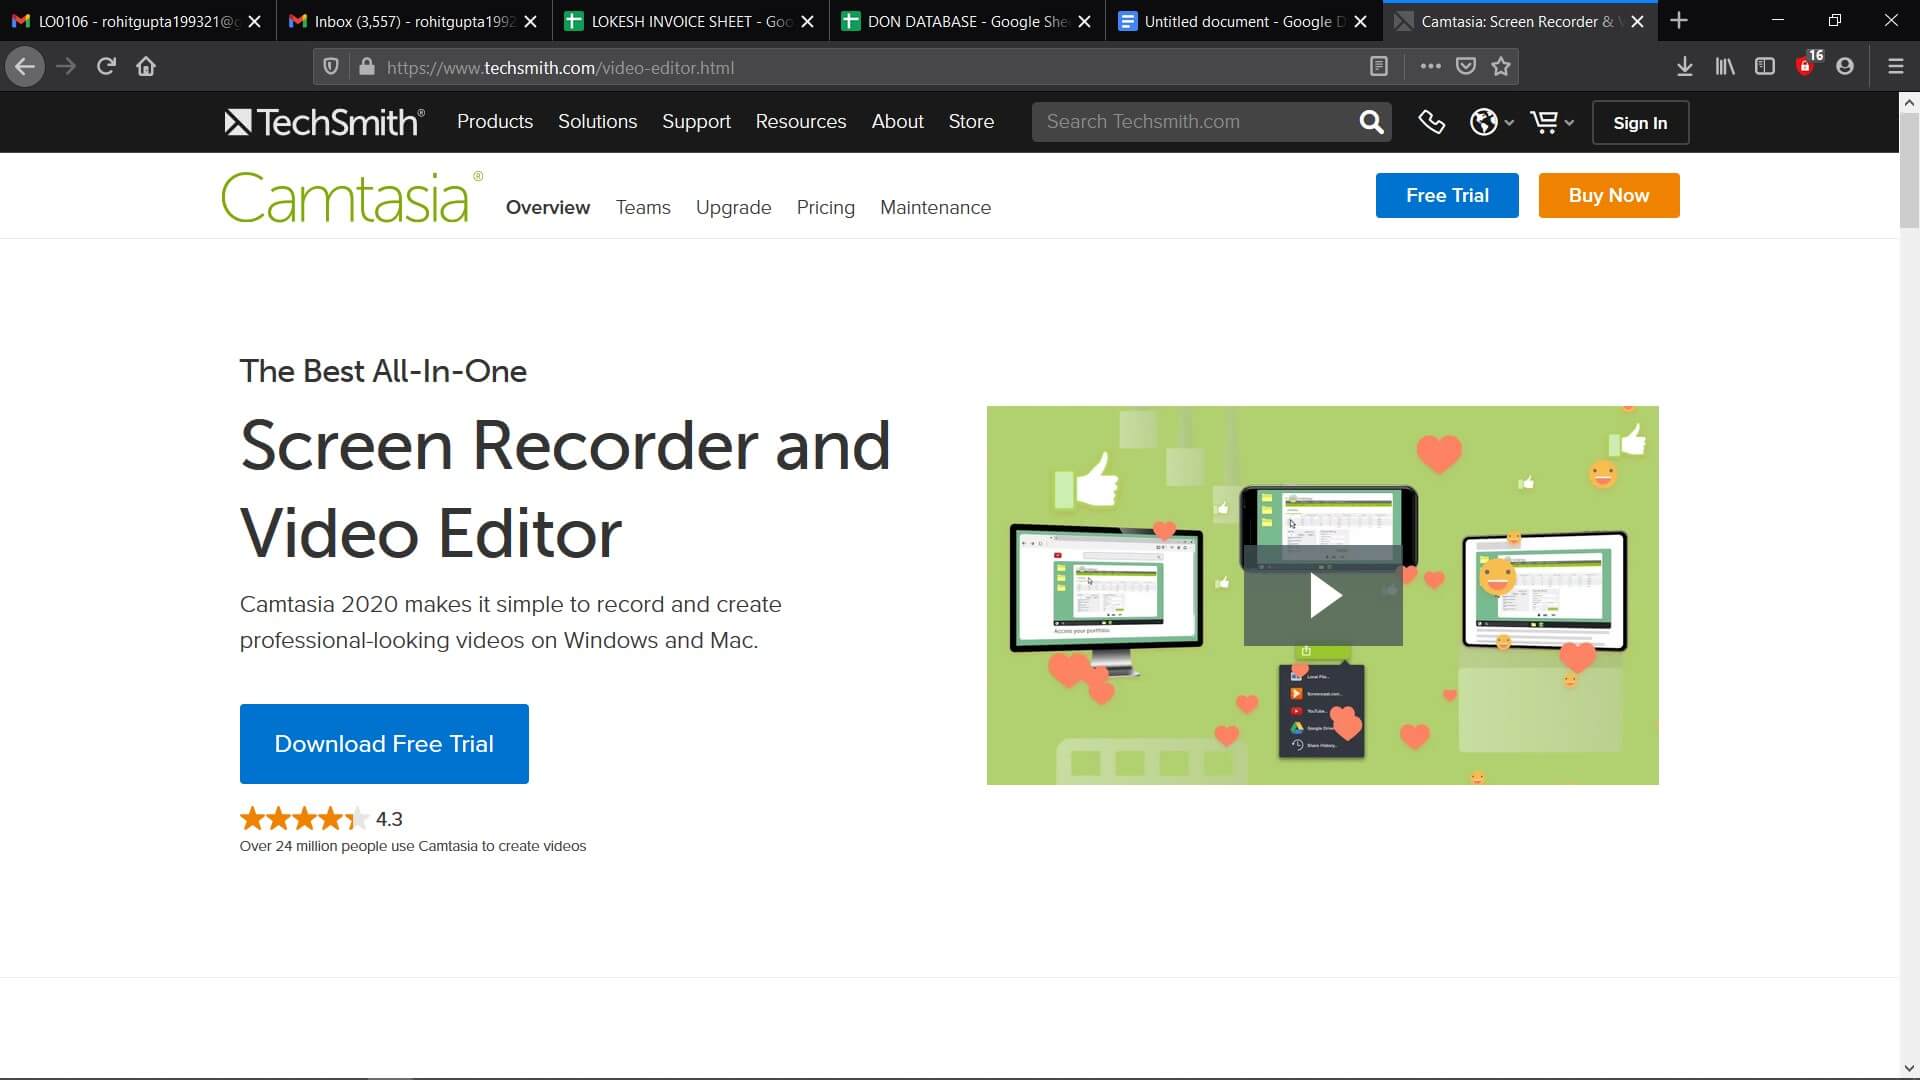
In case you are interested in checking out the Camtasia offer, you can try out the free trial. As soon as the period expires, you will have to sign up for a license. When you get the license, you will be able to unlock all the features.
Pros
● Screen recording with audio
● Large audio and music library
● Offers video templates
Cons
● The free trial doesn’t offer all features
6. Adobe Rush
It is an app that is available for macOS, Windows, iOS, and Android. To use this, you do not have to be a video editing professional. As it is a cross-platform app, you can easily create videos using it. You can adjust the video aspect ratio using the color grading effect or some of the motion graphic templates of the app.

Apart from this, it also lets you adjust the Shadows, Vibrance, and Exposure in a video clip. Nevertheless, the free version of the app comes with limited features. Choose the annual or monthly subscription model if you have to expand the cloud storage space.
Pros
● Lets you share videos directly from Tiktok
● Cross-platform availability
● Is compatible with the other video editing software products by Adobe
Cons
● The app cannot be accessed in all corners of the world
● The free version allows you to export just 3 videos every month
7. Wondershare Filmora
Filmora is going to give you access to the editing tools that you will need for creating comic videos or music to share on TikTok. The video editing software for PC and Mac computers allows you to edit footage that has been recorded using smartphones, action cameras, or DSLRs.
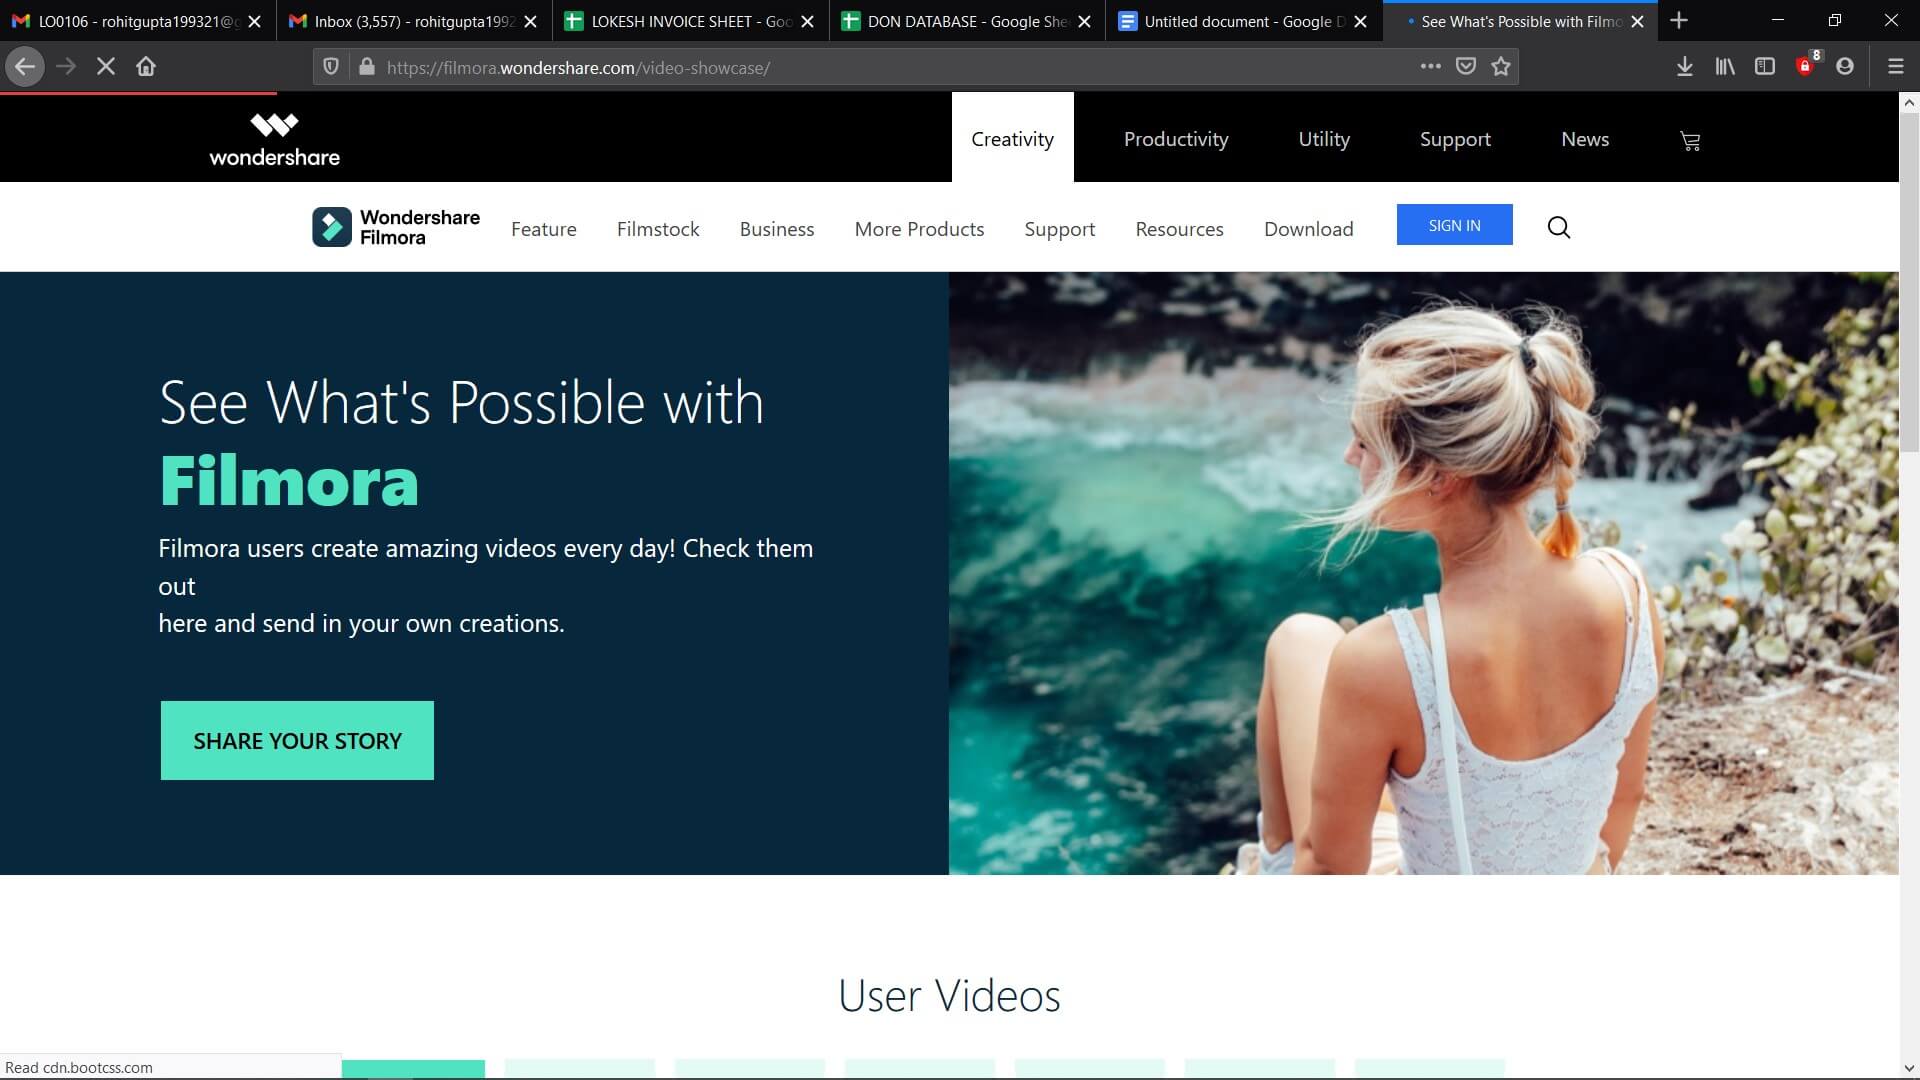
Cutting and trimming video clips, creating soundtracks for some music video, or adjusting the aspect ratio are a few things that you can do using Filmora. The exporting features of the video editor are impressive. It lets you select the device where you are going to play the video. You can upload it directly to your TikTok profile.
Pros
● Offers multiple audio and visual effects
● Supports 4K video editing
● Powerful video and sound editing tools
Cons
● Doesn’t allow you to export videos from TikTok to FilmoraX


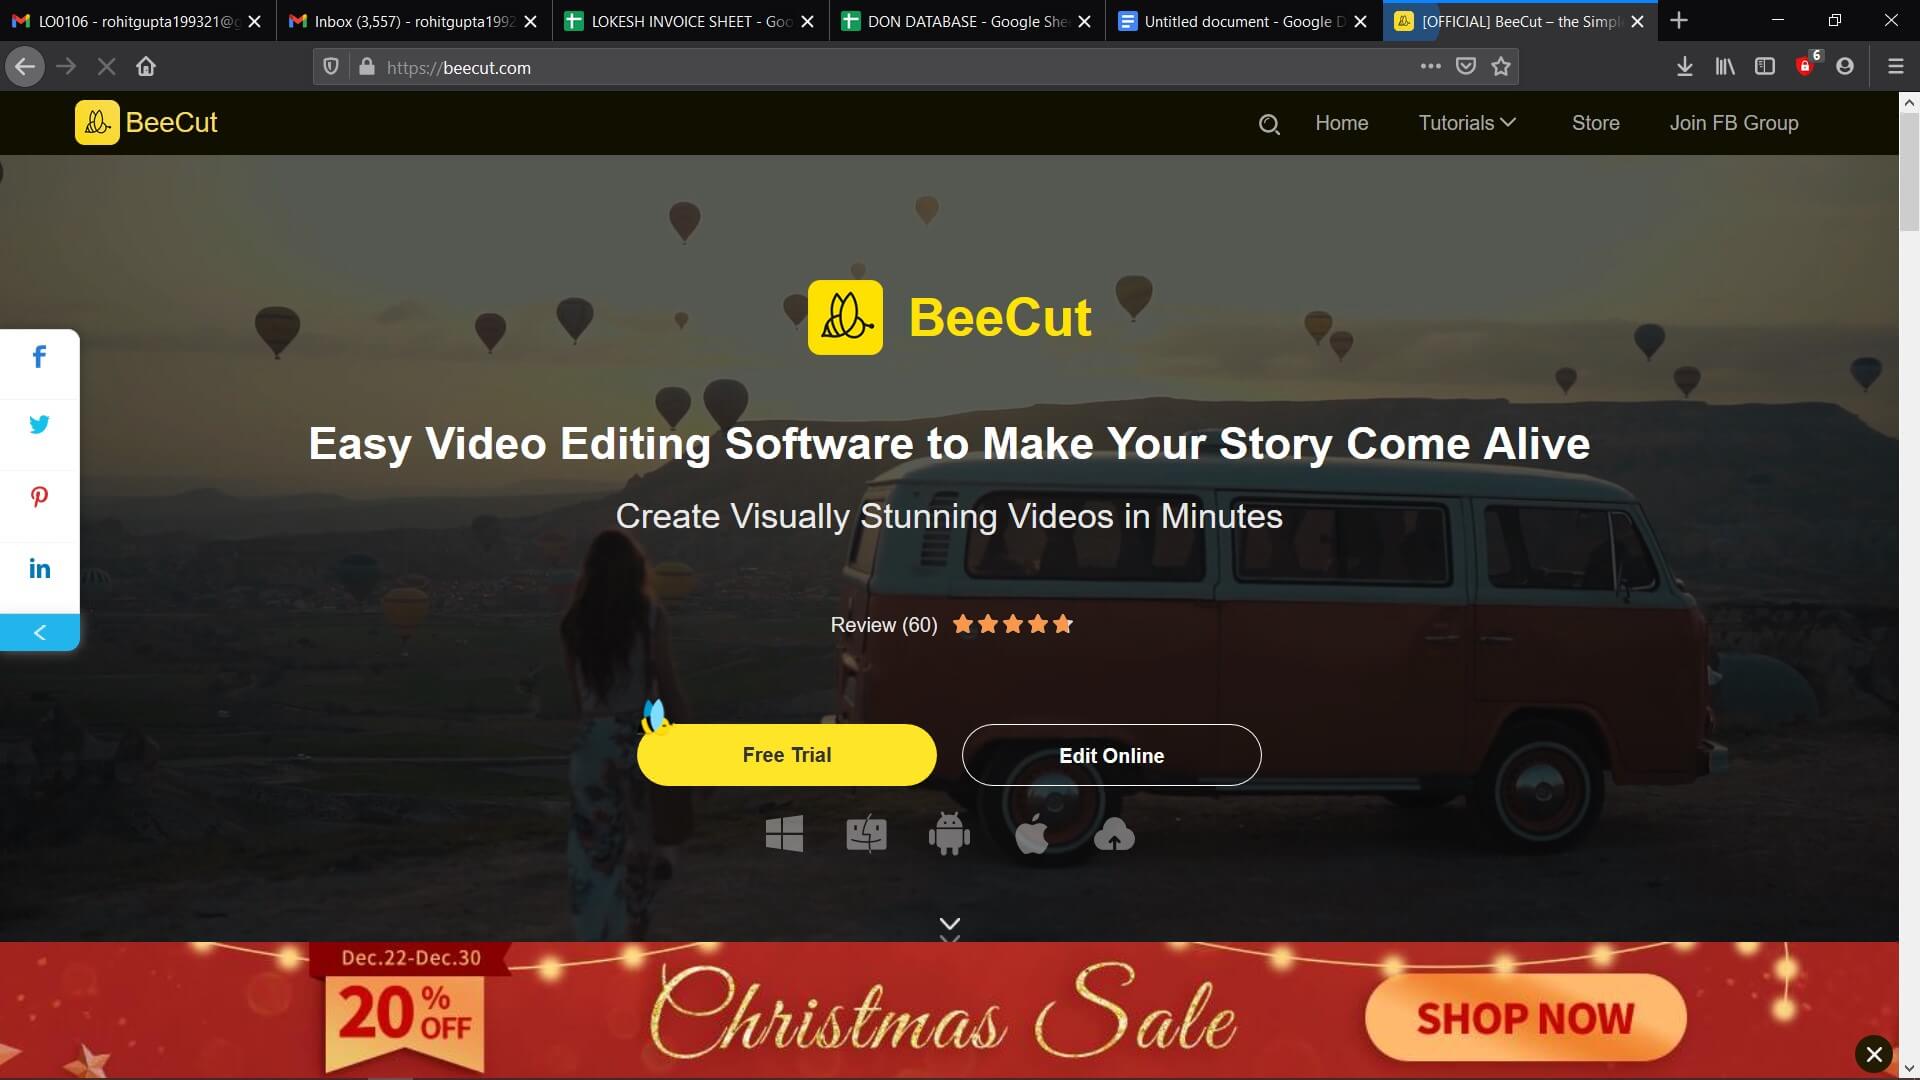
8. BeeCut
This is a video editing that is quite popular among Mac and Windows users. Apart from having a simple user-interface it also has some powerful video editing functions. With the help of this, you can add exciting and cool filters to your TikTok videos. You can also add overlays, PIP effects, titles, transitions, and much more. The software supports 5 aspect ratios that include 4:3, 3:4, 9:16, 16:9, and 1:1. Even if you have no idea about editing videos on your computer, you can use the editor to create stunning videos in no time.
Pros
● Lets you edit TikTok videos using various tools
● Enables video editing in multiple aspect ratios and resolutions
● Comes with several color strokes, animation, and other effects
Cons
● Doesn’t have Chroma Key function
9. Open Shot
OpenShot is simple and free to use open-source video editor available for Windows, Mac, and Linux. It is a good video editing tool for beginners. With this, you can learn video editing skills. If you have to learn the basics without spending too much time, this video editor is your best shot.

Other than doing basic video editing, you will also be able to render 3D animation. Using this editor, you can slice and trim videos without any hassle.
Pros
● Provides templates for editing tiles
● Lets you trim videos at your will
● Has free built-in animation and effects
Cons
● Can be buggy at times
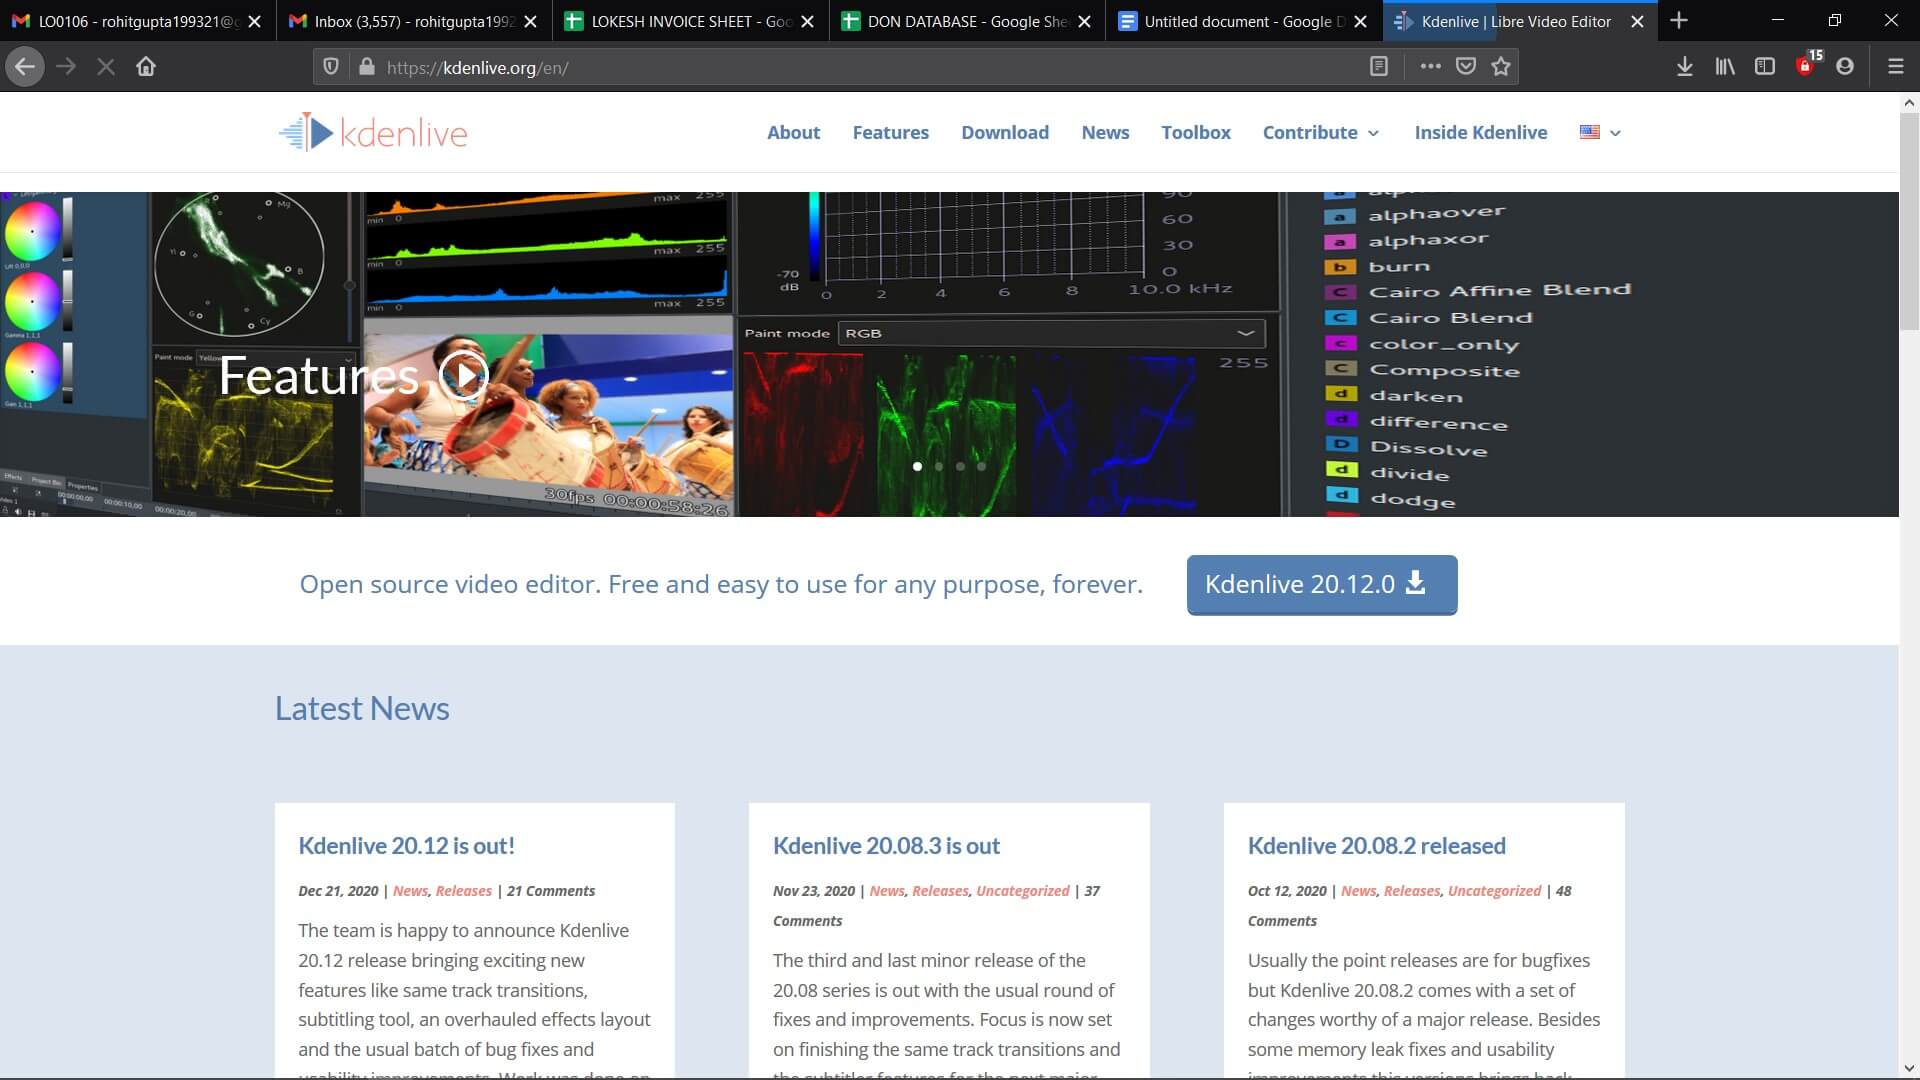
10. Kdenlive
Albeit the development team has shifted full-steam ahead on Linux, you can use the video editing software on Mac. It supports all popular media formats and lets you add files to the software’s timeline pretty easily.
Pros
● Lets you edit video and audio tracks
● Customizes shortcuts easily
● Is an open-source software
Cons
● Updates slowly
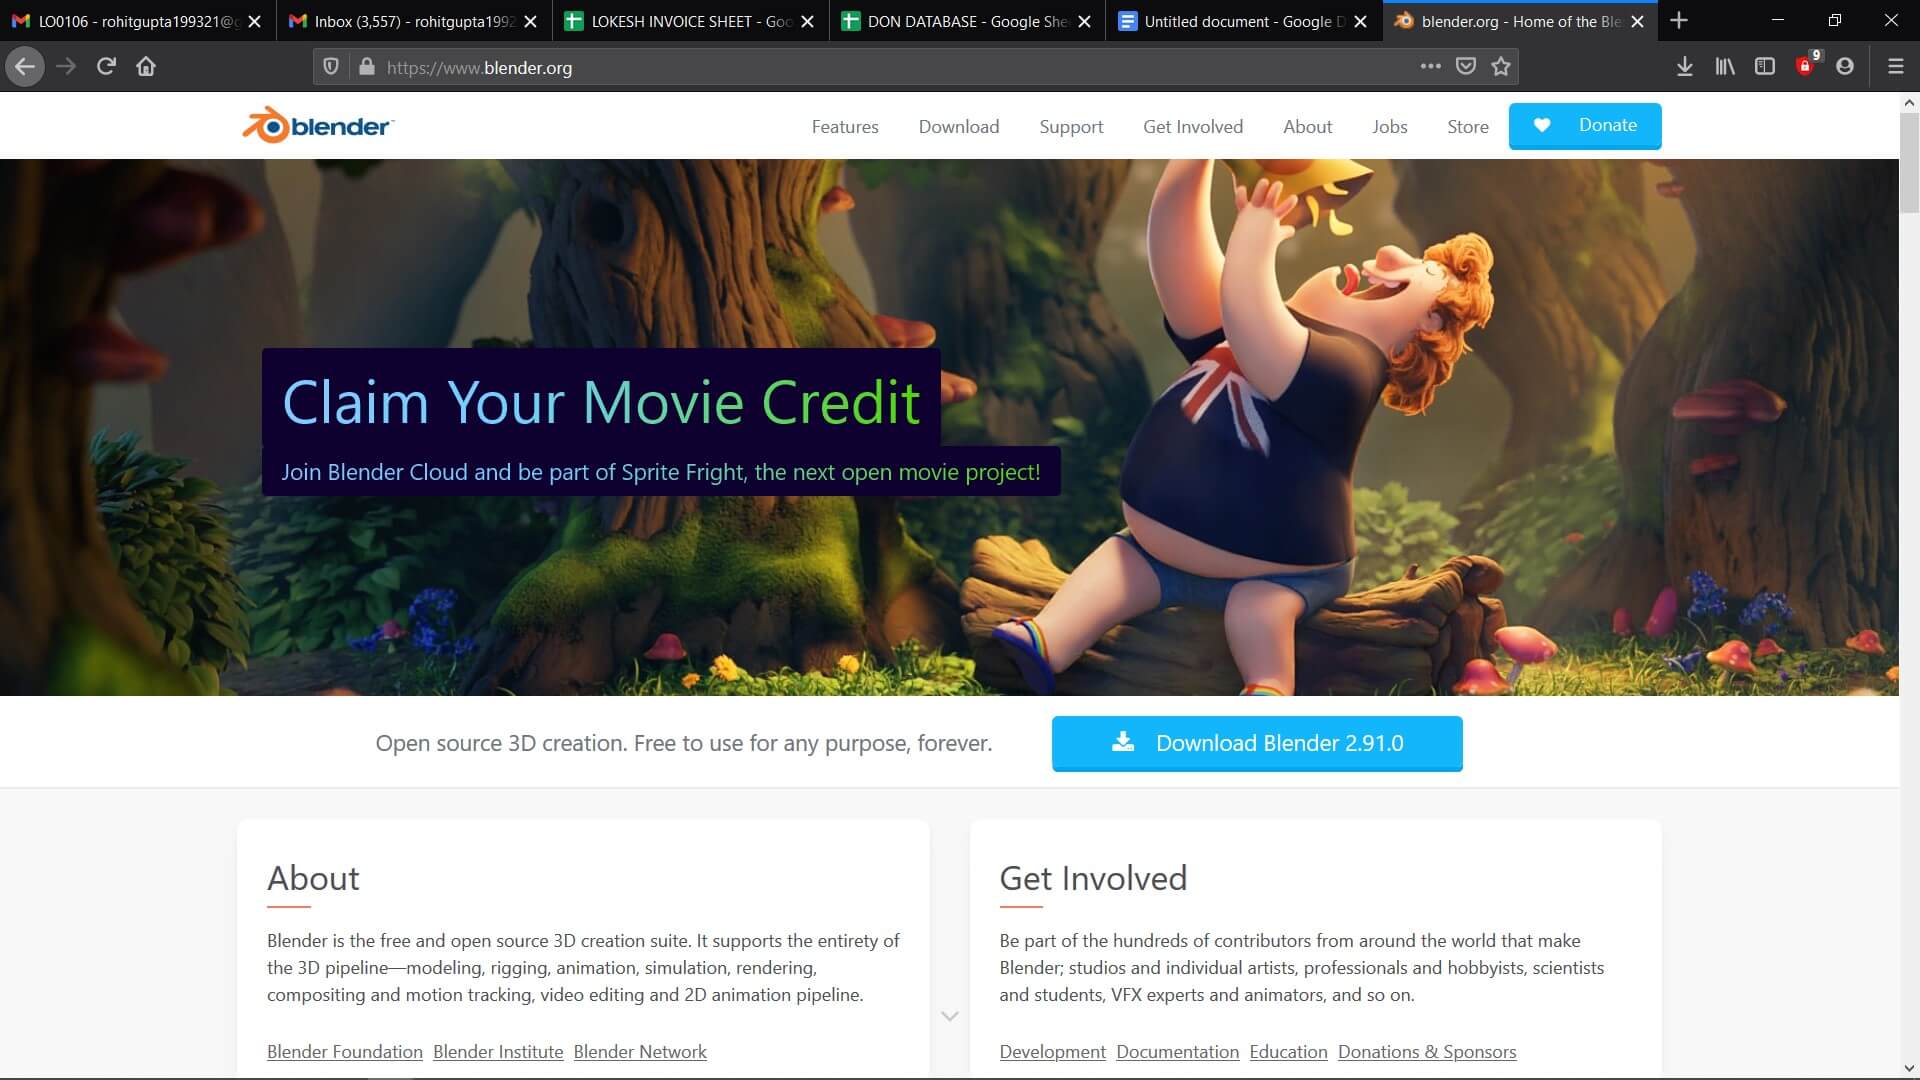
11. Blender
This is a free 3D graphics application that is considered to be one of the top video editors for Mac. It is used for rigging, modeling, UV unwrapping, animation, and more. The blender comes with several advanced features such as powerful character, modifier-based modeling, etc.
Pros
● Supports GPU and CPU rendering
● Is a 3D creation suite
● Has different sculpture brushes and tools
Cons
● Animation management isn’t smooth
Conclusion
Creating videos for TikTok and making them unique becomes easy when you choose one of the best TikTok editing apps/websites. However, FilmoraX is one of the top TikTok editing apps you can use without thinking twice because of its unique and standout features. Download the trial version and check it out.
Learn More: How to Make a Video Meme for Tiktok>>>
Shanoon Cox
Shanoon Cox is a writer and a lover of all things video.
Follow @Shanoon Cox
Shanoon Cox
Dec 14, 2023• Proven solutions
TikTok is a super popular social media platform where you can create and share short videos with some dance, song, and lip-syncing. Even though the app has built-in video editing tools that are quite effective, at times to make your videos pop, those features might not be enough if you require something unique for your video. So, to avoid using only the limited features provided by TikTok, you need to use good TikTok editing apps/websites.
In this article, we are going to tell you about the top 10+ free TikTok video editing apps/websites that you can use to edit your TikTok videos and make them stand out.
2. FlexClip
It is an online TikTok video creator and editor. You can access it for free. It has several features that you can use for creating engaging TikTok videos in the browser. You do not even have to take the trouble of installing the app on your Mac system.
To make sure that you can easily find the media resource that you need, FlexClip offers a large media library where you can search for audio, video, and photo by using a keyword. So, by using this, you will be able to edit like professionals.
Pros
● East and free to use
● Several video template
● No need to download software
● Several royalty-free media sources
Cons
● The free version is limited
● Doesn’t have an undo button
3. ClipChamp
ClipChamp is another online video editor. It has an intuitive and simple interface. With this, you will be able to enjoy great editing functions. The online TikTok video editor tool caters to all video editing requirements like splitting, cutting, and adding music or text. But this is not all, the tool will also let you apply filters and add a transition. You can access it for free. This is the best video editing tool for beginners.
Pros
● The free to use and work in the browser
● Has a large media library
● Lets you import files with just a click
Cons
● The free version offers only limited features
● You have to sign up to use
4. Kawping
Kapwing is a web-based video editor that can create amazing videos with the help of a few simple steps. All you have to do is upload the video clips to the Kapwing editor and do editing works like trimming, splitting, adding text, resizing, adding music and text, and more. One of the best things about this website is it is not going to add a watermark to the video.
Pros
● Available for free and easy to use
● Doesn’t add watermark
● Comes with several editing features
Cons
● Exports video rather slowly
● Doesn’t have media resources
5. Camtasia
This is video editing software that you can use to edit your videos for TikTok. The platform is equipped with features that optimize the creation of videos. Mac users can expect the software to run smoothly on their system.
In case you are interested in checking out the Camtasia offer, you can try out the free trial. As soon as the period expires, you will have to sign up for a license. When you get the license, you will be able to unlock all the features.
Pros
● Screen recording with audio
● Large audio and music library
● Offers video templates
Cons
● The free trial doesn’t offer all features
6. Adobe Rush
It is an app that is available for macOS, Windows, iOS, and Android. To use this, you do not have to be a video editing professional. As it is a cross-platform app, you can easily create videos using it. You can adjust the video aspect ratio using the color grading effect or some of the motion graphic templates of the app.
Apart from this, it also lets you adjust the Shadows, Vibrance, and Exposure in a video clip. Nevertheless, the free version of the app comes with limited features. Choose the annual or monthly subscription model if you have to expand the cloud storage space.
Pros
● Lets you share videos directly from Tiktok
● Cross-platform availability
● Is compatible with the other video editing software products by Adobe
Cons
● The app cannot be accessed in all corners of the world
● The free version allows you to export just 3 videos every month
7. Wondershare Filmora
Filmora is going to give you access to the editing tools that you will need for creating comic videos or music to share on TikTok. The video editing software for PC and Mac computers allows you to edit footage that has been recorded using smartphones, action cameras, or DSLRs.
Cutting and trimming video clips, creating soundtracks for some music video, or adjusting the aspect ratio are a few things that you can do using Filmora. The exporting features of the video editor are impressive. It lets you select the device where you are going to play the video. You can upload it directly to your TikTok profile.
Pros
● Offers multiple audio and visual effects
● Supports 4K video editing
● Powerful video and sound editing tools
Cons
● Doesn’t allow you to export videos from TikTok to FilmoraX
8. BeeCut
This is a video editing that is quite popular among Mac and Windows users. Apart from having a simple user-interface it also has some powerful video editing functions. With the help of this, you can add exciting and cool filters to your TikTok videos. You can also add overlays, PIP effects, titles, transitions, and much more. The software supports 5 aspect ratios that include 4:3, 3:4, 9:16, 16:9, and 1:1. Even if you have no idea about editing videos on your computer, you can use the editor to create stunning videos in no time.
Pros
● Lets you edit TikTok videos using various tools
● Enables video editing in multiple aspect ratios and resolutions
● Comes with several color strokes, animation, and other effects
Cons
● Doesn’t have Chroma Key function
9. Open Shot
OpenShot is simple and free to use open-source video editor available for Windows, Mac, and Linux. It is a good video editing tool for beginners. With this, you can learn video editing skills. If you have to learn the basics without spending too much time, this video editor is your best shot.
Other than doing basic video editing, you will also be able to render 3D animation. Using this editor, you can slice and trim videos without any hassle.
Pros
● Provides templates for editing tiles
● Lets you trim videos at your will
● Has free built-in animation and effects
Cons
● Can be buggy at times
10. Kdenlive
Albeit the development team has shifted full-steam ahead on Linux, you can use the video editing software on Mac. It supports all popular media formats and lets you add files to the software’s timeline pretty easily.
Pros
● Lets you edit video and audio tracks
● Customizes shortcuts easily
● Is an open-source software
Cons
● Updates slowly
11. Blender
This is a free 3D graphics application that is considered to be one of the top video editors for Mac. It is used for rigging, modeling, UV unwrapping, animation, and more. The blender comes with several advanced features such as powerful character, modifier-based modeling, etc.
Pros
● Supports GPU and CPU rendering
● Is a 3D creation suite
● Has different sculpture brushes and tools
Cons
● Animation management isn’t smooth
Conclusion
Creating videos for TikTok and making them unique becomes easy when you choose one of the best TikTok editing apps/websites. However, FilmoraX is one of the top TikTok editing apps you can use without thinking twice because of its unique and standout features. Download the trial version and check it out.
Learn More: How to Make a Video Meme for Tiktok>>>
Shanoon Cox
Shanoon Cox is a writer and a lover of all things video.
Follow @Shanoon Cox
Hush the Buzz: Decluttering Recordings in Audacity
The most frequent request you’ll get from video makers is to eliminate irritating noises like rumbling or humming from an original clip. Almost all of the time, capturing high-quality audio during filming is challenging since the conversation is often hard to hear or is made unclear due to surrounding noises, such as the dreadful air conditioners or fans.
To get rid of all these awful noises, this Audacity Noise Reduction feature will serve you a significant purpose in removing unwanted background noise for your future videos. Without further ado, let’s get started!
In this article
01 Things You Need to Prepare for Background Noise Reduction
02 How to Remove Background Noise in Audacity?
03 Why is Audacity Noise Reduction Not Working?
04 How to Prevent Background Noise in Audio Recording?
05 How to Remove Background Noise in Filmora?
Part 1: Things You Need to Prepare for Background Noise Reduction
Here are few things that you need to consider before you apply the noise reduction to your clips:
1. Noise Sample
A decent sample of the noise you wish to eliminate is perhaps the most crucial aspect of the Audacity remove noise procedure.
This will be used by Audacity to understand the noise and build a noise profile. The noise recording should last for a fair amount of time and be devoid of any other noises.
2. Avoid Copy Pasting Tiny Noise Section in Your Spoken Phrases
When you have a tiny part of noise between your stated words on your audio, please don’t copy/paste it to make a more significant piece of sound for Audacity to examine.
You would not be supplying Audacity with any more information that will help it generate a decent noise profile. The noise profile is what enables Audacity to tell the difference between speech and noise.
3. Minimum 2048 Data Samples Required
To build a noise profile, the Noise Reduction function requires a minimum of 2048 sample data. An audio file with a sampling frequency of 44.1kHz is roughly five hundredths of a second.
Note that this is the minor sound level that Audacity needs to generate a noise profile; however, should you supply a larger sample of the noise, Audacity can typically perform a great job of producing a suitable noise profile. As a result, attempt to capture a few seconds of background noises wherever possible.
4. Establish Recording Level and Record “Silence”
Setting your audio volume and capturing some “quiet” prior to speaking is the best way to achieve this. Instead, when you’ve finished talking, keep your camera/recorder going for a few moments.
Don’t move or create any sounds while capturing the background noises, and keep an ear open for any other noises. You only need to capture the ambient noise for a few moments; two to five seconds will suffice.
Part 2: How to Remove Background Noise in Audacity on Windows and Mac?
Whether you are using Windows or macOS, we will show you a step-by-step process to achieve your results using both software in this part of Audacity remove background music guide.
Remove background noise in Audacity on Windows
Step 1: On your recording, select a few moments of sound. Any segment of noise that incorporates other noises should be avoided.

Step 2: From the Effect menu, select Noise Reduction.

Step 3: Select the Get Noise Profile option whenever the Noise Reduction effect screen appears.

Note: Choose whether to implement the noise removal to the entire waveforms or only a portion of it.
Step 4: To access the Noise Reduction effects window, go to Effects > Noise Reduction. Raise the level of noise reduction progressively while previewing the result.

Step 5: Head over to the File section to Export and Save the result. Audacity does not save sound clips when you select Save Project; instead, you must choose Export. Select the file type you want to store and the place wherever you can save it. Select Save after giving the File Name.

Remove background noise in Audacity on Mac
Step 1: Create a room tone-containing audio file. When you don’t have a separate track for room tone, use a recording with a few moments of quiet in it. Click-and-drag to select a segment with a few minutes of silence using the Selection Tool.

Step 2: Select Noise Reduction from the Effects tab. Select the Get Noise Profile tab in the new tab under Step 1. The screen will shut, and Audacity will take noise profile samples of the indicated area.

Step 3: Click-and-drag to select the whole file, which requires noise reduction with the Selection Tool. To re-open the function, go to the Effect tab and pick Noise Reduction. Make modifications to the following parameters under Step 2:
- Reduce and Residue
- Frequency Smoothing (bands)
- Sensitivity
- Noise Reduction

Step 4: To listen to how the chosen file will look with the selected parameters, select Preview. Re-adjust until you have a sound noise reduction with no interference. When you’re finished, select Reduce and click OK.
Part 3: Why is Audacity Noise Reduction Not Working?
It’s possible that the Noise Reduction function isn’t letting you mop up your recording since your audio isn’t appropriate for it. The disturbance must be continuous, not random or fluctuating, to work for Audacity’s Noise Reduction function.
For example, the Noise Reduction function will not assist if your audio was made in a busy environment with unique noises such as background chatter, random traffic noises, or in an exhibition space or museum. The Noise Reduction feature in Audacity isn’t meant to cope with that kind of distortion. You’ll need to alter your recording approach if you’re capturing voice in either of those situations.
Under the following situations, the Audacity Noise Reduction function might underperform.
- Particular noise in the background, including traffic or people.
- When the harmonics of the sound and voice are comparable.
- There is sound variance where there is fluctuation in the noise.
- The volume of the voice is comparable to or lower than that of the background noise.
- When the noise is irregular or changeable rather than continuous.
- The loudness is deafening.
- The sound is a single click or pop.
Part 4: How to Prevent Background Noise in Audio Recording?
Although Audacity allows eliminating noise very simply, it is still an additional level that takes time to refine your podcast production. These pointers can help you avoid the necessity for noise reduction and cut down on the amount of time you spend processing.
1. Reduce the Computer Fan Noise
Whenever computers become too heated, they can produce a lot of noise. You may limit the amount of software that runs and position your mic away from the keyboard to help lessen this impact and avoid the fan from coming on.
However, even if you observe all of these guidelines, undesired recording sounds may still appear in your program. Fortunately, contemporary software makes this problem quite simple to resolve.
2. Reduce the Gain and Get Close to the Mic
Reduce the gain (sensitivity of the microphone) and go nearer to it. Talking straight into the microphone won’t distort your audio if you reduce the gain, and that would assist your microphone in concentrating on scooping up your voice’s tone.
Bonus Tip: Set your recorder’s (or DAW’s) sensitivity such that your speech peaks between -12 and -10db.
3. Utilize a Versatile Microphone
Condenser and dynamic microphones are the two most common types of podcast microphones. Condenser microphones are significantly more sensitive instruments meant to take up average atmospheric noise, whereas dynamic microphones have a narrower frequency range, picking up fewer ambient noises.
4. Optimize Your Recording Environment
The most significant and most crucial aspect of your podcasts’ sound quality is where you capture it. To optimize your personal podcasting space, we recommend choosing a peaceful, compact area away from HVAC systems, vehicles, external hard drives, background sound, motors, and other distractions. You may also increase the tone of your room by using natural sound absorbents such as curtains, rugs, carpets, and sofas.
Part 5: How to Remove Background Noise in Filmora?
Although there is a lot of software available to eliminate ambient noise, we highly suggest Wondershare Filmora Video Editor to edit audio and video in one place.
In addition to the standard audio editing capabilities, the recently redesigned Filmora currently includes enhanced waveforms, volume Keyframing , peak metering, and audio transitions, giving you a better audio editing interface.
For Win 7 or later (64-bit)
For macOS 10.12 or later
Filmora Video Editor will quickly remove ambient sound from both sound/video. You may also remove the sound from the video with this simple video editor, use the Audio Equalizer or Audio Mixer functions to modify the audio further, and then Export and save the audio in an Mp3 file. Here are the detailed steps:
Step 1: In the Wondershare Filmora Timeline menu, Import your footage. Trim the footage after previewing it and deleting the sections you don’t want to retain.

Step 2: To eliminate the ambient noise immediately, double-click on the video file, and go to the Audio panel to select the Remove Background Noise option. You will find that the background noise is removed automatically.

Step 3: After checking the results, select Export to download the noise-reduced clip to your desktop or upload it immediately to YouTube or Vimeo.

Conclusion
Well, there you have it. In this Audacity Remove Background Noise guide, we have reviewed every possible method you can adopt to get rid of the unnecessary background noise in the Audacity. And if the desired results are still not achieved, we highly recommend using the Wondershare Filmora editing software. Not only will it help you remove the unwanted ambient noise, but it will also allow you to customize your audio or video file further.
02 How to Remove Background Noise in Audacity?
03 Why is Audacity Noise Reduction Not Working?
04 How to Prevent Background Noise in Audio Recording?
05 How to Remove Background Noise in Filmora?
Part 1: Things You Need to Prepare for Background Noise Reduction
Here are few things that you need to consider before you apply the noise reduction to your clips:
1. Noise Sample
A decent sample of the noise you wish to eliminate is perhaps the most crucial aspect of the Audacity remove noise procedure.
This will be used by Audacity to understand the noise and build a noise profile. The noise recording should last for a fair amount of time and be devoid of any other noises.
2. Avoid Copy Pasting Tiny Noise Section in Your Spoken Phrases
When you have a tiny part of noise between your stated words on your audio, please don’t copy/paste it to make a more significant piece of sound for Audacity to examine.
You would not be supplying Audacity with any more information that will help it generate a decent noise profile. The noise profile is what enables Audacity to tell the difference between speech and noise.
3. Minimum 2048 Data Samples Required
To build a noise profile, the Noise Reduction function requires a minimum of 2048 sample data. An audio file with a sampling frequency of 44.1kHz is roughly five hundredths of a second.
Note that this is the minor sound level that Audacity needs to generate a noise profile; however, should you supply a larger sample of the noise, Audacity can typically perform a great job of producing a suitable noise profile. As a result, attempt to capture a few seconds of background noises wherever possible.
4. Establish Recording Level and Record “Silence”
Setting your audio volume and capturing some “quiet” prior to speaking is the best way to achieve this. Instead, when you’ve finished talking, keep your camera/recorder going for a few moments.
Don’t move or create any sounds while capturing the background noises, and keep an ear open for any other noises. You only need to capture the ambient noise for a few moments; two to five seconds will suffice.
Part 2: How to Remove Background Noise in Audacity on Windows and Mac?
Whether you are using Windows or macOS, we will show you a step-by-step process to achieve your results using both software in this part of Audacity remove background music guide.
Remove background noise in Audacity on Windows
Step 1: On your recording, select a few moments of sound. Any segment of noise that incorporates other noises should be avoided.
Step 2: From the Effect menu, select Noise Reduction.
Step 3: Select the Get Noise Profile option whenever the Noise Reduction effect screen appears.
Note: Choose whether to implement the noise removal to the entire waveforms or only a portion of it.
Step 4: To access the Noise Reduction effects window, go to Effects > Noise Reduction. Raise the level of noise reduction progressively while previewing the result.
Step 5: Head over to the File section to Export and Save the result. Audacity does not save sound clips when you select Save Project; instead, you must choose Export. Select the file type you want to store and the place wherever you can save it. Select Save after giving the File Name.
Remove background noise in Audacity on Mac
Step 1: Create a room tone-containing audio file. When you don’t have a separate track for room tone, use a recording with a few moments of quiet in it. Click-and-drag to select a segment with a few minutes of silence using the Selection Tool.
Step 2: Select Noise Reduction from the Effects tab. Select the Get Noise Profile tab in the new tab under Step 1. The screen will shut, and Audacity will take noise profile samples of the indicated area.
Step 3: Click-and-drag to select the whole file, which requires noise reduction with the Selection Tool. To re-open the function, go to the Effect tab and pick Noise Reduction. Make modifications to the following parameters under Step 2:
- Reduce and Residue
- Frequency Smoothing (bands)
- Sensitivity
- Noise Reduction
Step 4: To listen to how the chosen file will look with the selected parameters, select Preview. Re-adjust until you have a sound noise reduction with no interference. When you’re finished, select Reduce and click OK.
Part 3: Why is Audacity Noise Reduction Not Working?
It’s possible that the Noise Reduction function isn’t letting you mop up your recording since your audio isn’t appropriate for it. The disturbance must be continuous, not random or fluctuating, to work for Audacity’s Noise Reduction function.
For example, the Noise Reduction function will not assist if your audio was made in a busy environment with unique noises such as background chatter, random traffic noises, or in an exhibition space or museum. The Noise Reduction feature in Audacity isn’t meant to cope with that kind of distortion. You’ll need to alter your recording approach if you’re capturing voice in either of those situations.
Under the following situations, the Audacity Noise Reduction function might underperform.
- Particular noise in the background, including traffic or people.
- When the harmonics of the sound and voice are comparable.
- There is sound variance where there is fluctuation in the noise.
- The volume of the voice is comparable to or lower than that of the background noise.
- When the noise is irregular or changeable rather than continuous.
- The loudness is deafening.
- The sound is a single click or pop.
Part 4: How to Prevent Background Noise in Audio Recording?
Although Audacity allows eliminating noise very simply, it is still an additional level that takes time to refine your podcast production. These pointers can help you avoid the necessity for noise reduction and cut down on the amount of time you spend processing.
1. Reduce the Computer Fan Noise
Whenever computers become too heated, they can produce a lot of noise. You may limit the amount of software that runs and position your mic away from the keyboard to help lessen this impact and avoid the fan from coming on.
However, even if you observe all of these guidelines, undesired recording sounds may still appear in your program. Fortunately, contemporary software makes this problem quite simple to resolve.
2. Reduce the Gain and Get Close to the Mic
Reduce the gain (sensitivity of the microphone) and go nearer to it. Talking straight into the microphone won’t distort your audio if you reduce the gain, and that would assist your microphone in concentrating on scooping up your voice’s tone.
Bonus Tip: Set your recorder’s (or DAW’s) sensitivity such that your speech peaks between -12 and -10db.
3. Utilize a Versatile Microphone
Condenser and dynamic microphones are the two most common types of podcast microphones. Condenser microphones are significantly more sensitive instruments meant to take up average atmospheric noise, whereas dynamic microphones have a narrower frequency range, picking up fewer ambient noises.
4. Optimize Your Recording Environment
The most significant and most crucial aspect of your podcasts’ sound quality is where you capture it. To optimize your personal podcasting space, we recommend choosing a peaceful, compact area away from HVAC systems, vehicles, external hard drives, background sound, motors, and other distractions. You may also increase the tone of your room by using natural sound absorbents such as curtains, rugs, carpets, and sofas.
Part 5: How to Remove Background Noise in Filmora?
Although there is a lot of software available to eliminate ambient noise, we highly suggest Wondershare Filmora Video Editor to edit audio and video in one place.
In addition to the standard audio editing capabilities, the recently redesigned Filmora currently includes enhanced waveforms, volume Keyframing , peak metering, and audio transitions, giving you a better audio editing interface.
For Win 7 or later (64-bit)
For macOS 10.12 or later
Filmora Video Editor will quickly remove ambient sound from both sound/video. You may also remove the sound from the video with this simple video editor, use the Audio Equalizer or Audio Mixer functions to modify the audio further, and then Export and save the audio in an Mp3 file. Here are the detailed steps:
Step 1: In the Wondershare Filmora Timeline menu, Import your footage. Trim the footage after previewing it and deleting the sections you don’t want to retain.
Step 2: To eliminate the ambient noise immediately, double-click on the video file, and go to the Audio panel to select the Remove Background Noise option. You will find that the background noise is removed automatically.
Step 3: After checking the results, select Export to download the noise-reduced clip to your desktop or upload it immediately to YouTube or Vimeo.
Conclusion
Well, there you have it. In this Audacity Remove Background Noise guide, we have reviewed every possible method you can adopt to get rid of the unnecessary background noise in the Audacity. And if the desired results are still not achieved, we highly recommend using the Wondershare Filmora editing software. Not only will it help you remove the unwanted ambient noise, but it will also allow you to customize your audio or video file further.
Also read:
- [Updated] The Beginner's Guide to Perfecting Slow Motion Videos on TikTok
- [New] 2024 Approved Unveiling the Ultimate Top 10 TikTok Gaming Squad
- [Updated] Efficiently Enhance Your TikTok Videos' Speed
- [New] Top 30 TikTok Names for Higher Engagement and Visibility for 2024
- [New] 2024 Approved Viral Videos Versus Narratives Can Likes Outshine TikTok's Appeal?
- [New] Standing Out on the TikTok Stage Unique PFP Concepts and Strategies for 2024
- [Updated] Exclusive Methods for Apple-Free TikTok Video Downloads for 2024
- [New] In 2024, Authentic TikTok Follower Purchase Guides
- [Updated] Resume Your TikTok Journey Post-Reload Error for 2024
- [New] 2024 Approved Flavor Quest The Best International Meals and Recipes
- [New] Smooth Steps Top 20 Chill-Out Country Hits for Grooving (TikTok) for 2024
- [Updated] Conquer Views The Quintessential Selection of TikTok Font Creators for 2024
- Chaotic Choices Top 10 Craziest TikTok Games to Try Now
- [Updated] Prime Tools for Creative TikTok Videos
- [Updated] Bite-Sized Global Cuisines on TikTok for 2024
- [New] Capture Stellar TikToks Easily & Effectively for 2024
- Catchy Tracks The 20 Top Rapping Beats You Can't Miss on TikTok
- [Updated] Engaging Enthusiasts Top Biographical Approaches for Growing Followers, Inspired by Filmora
- [Updated] 30 Cutting-Edge TikTok Profile Photo Ideas
- [New] 2024 Approved Simplified Sequences The Top TikTok Dances
- [New] 2024 Approved Munching Masterpieces Top Food Trends on Social Media
- [Updated] 2024 Approved 30 Cutting-Edge TikTok Profile Photo Ideas
- [Updated] 2024 Approved How to Change Voice on TikTok? [Step by Step Tutorial]
- [New] 2024 Approved Silencing Audacity A Step-by-Step Noise Reduction Method
- [New] 2024 Approved 7 Best TikTok Emojis and How to Discover TikTok Secret Emojis
- [New] Unveiling Chrome-Based Techniques for TikTok Content
- The Freshest Top 15 Books Echoing Through BookTok's Halls for 2024
- [New] Ultimate 10 Filter Combos Making TikToks Pop Up
- [Updated] Banishing Auditory Distractions A Guide on Audacity's Noise Reduction
- [New] Unleash Creative Potential on TikTok Perfecting Sound and Visual Sync
- [New] Hits Parade Top TikTok Reaction Videos for 2024
- [Updated] 2024 Approved Master Your TikTok Vibe - Explore Top 7 Emojis + Elusive Signals
- [Updated] In 2024, The Desktop TikTok Creator's Handbook 2023 Edition
- Fostering Creativity for Impressive Mac-Produced TikTok Beginnings for 2024
- [New] Download TikTok Content Freely, Watermarks Included for 2024
- 15 Books That Have Conquered Social Media with BookTok Flair
- [New] 2024 Approved Top 20 Chill Country Tracks for Unwinding & Grooving on TikTok
- [New] 2024 Approved Top Independent Game Apps for Screen-Free Android Playing
- Reliable User Guide to Fix Samsung Galaxy S23 Ultra Running Slow and Freezing | Dr.fone
- In 2024, How Can I Use a Fake GPS Without Mock Location On Nokia G42 5G? | Dr.fone
- iPogo will be the new iSpoofer On Poco C55? | Dr.fone
- [New] OBS Meets ShadowCast for 2024
- Best Ways to Bypass iCloud Activation Lock on Apple iPhone 6s/iPad/iPod
- A Complete Guide To OEM Unlocking on Honor 90 Pro
- 5 Techniques to Transfer Data from Infinix Note 30 VIP Racing Edition to iPhone 15/14/13/12 | Dr.fone
- New Simplifying the Art of Audiobook Making A Complete, Step-by-Step Tutorial for Aspiring Authors
- Set Your Preferred Job Location on LinkedIn App of your Sony Xperia 1 V | Dr.fone
- How To Transfer Data From iPhone SE (2022) To Other iPhone 13 Pro Max devices? | Dr.fone
- [New] Mastering Instagram Adding Borders to Your Photos
- Updated 2024 Approved Start Here Beginner-Friendly Video Editing Tools
- In 2024, Step-by-Step Splitting Audio and Visuals in iMovie Using a Mac
- [New] Guide to Share YouTube Link on Instagram Story
- Education Enhancement The Art of Lecture Transcription on MacOS for 2024
- The Concealed Aspects Understanding the Unique Stories of Followers for 2024
- App Wont Open on Your Realme Note 50? Here Are All Fixes | Dr.fone
- Use Device Manager to update your drivers on Windows 11/10
- New The Only Guide Youll Ever Need to Learn About GIF Video Downloader for 2024
- How to Reset Gmail Password on Nokia C12 Pro Devices
- [Updated] 2024 Approved Your Ultimate Guide to Perfectly Recorded LOL Gaming
- Cellular Network Not Available for Voice Calls On Xiaomi Redmi Note 12 Pro+ 5G | Dr.fone
- [New] 2024 Approved From Visual Tweets to MP3 Outputs
- [Updated] Quick Tips Extracting and Keeping GIF Tweets
- [New] Supercharge Your Social Media Experience with the Best Chrome Vids Extensions for 2024
- [New] Essential IGTV Feeds for Modern Viewers for 2024
- [Updated] In 2024, Premier Racing Experience Series (Top 5)
- New Download Tool Facebook Videos for All OSes
- In 2024, How to Delete iCloud Account with or without Password from your iPhone 7/Windows/Mac
- In 2024, CatchEmAll Celebrate National Pokémon Day with Virtual Location On Honor X50 | Dr.fone
- Elevate Your Designs with Feather Shapes in After Effects for 2024
- Hassle-Free Ways to Remove FRP Lock on Asus ROG Phone 7 Ultimatewith/without a PC
- What to Do if Google Play Services Keeps Stopping on Xiaomi Redmi Note 12 Pro 4G | Dr.fone
- [Updated] In 2024, Catching Every Frame Leading Windows 10 Capture Tools
- Can You Unlock Apple iPhone XS After Forgetting the Passcode?
- How to Factory Reset Honor 90 Pro without Losing Data | Dr.fone
- Title: "Boost Creativity on TikTok - Top 10 Free Edits for Mac Users for 2024"
- Author: Stephen
- Created at : 2024-06-09 23:39:02
- Updated at : 2024-06-10 23:39:02
- Link: https://tiktok-video-recordings.techidaily.com/boost-creativity-on-tiktok-top-10-free-edits-for-mac-users-for-2024/
- License: This work is licensed under CC BY-NC-SA 4.0.
