
:max_bytes(150000):strip_icc()/is-microsoft-teams-down-or-is-it-you-5105051-419830bc0e82459ba9b33af1cea82705.jpg)
"Maximizing Your TikTok Intro A Mac Guide for 2024"
Maximizing Your TikTok Intro: A Mac Guide
How to Make a Best Tiktok Intro Video on Mac?

Shanoon Cox
Oct 26, 2023• Proven solutions
Are you keen on starting your own TikTok journey? There is no two way about the fact that this app is the new kid in town. It is highly popular among the younger generation.
If you are a new TikToker, you need an introduction video. This has to be engaging enough to attract more and more followers. The primary aim of an introduction video is to say high to your followers and tell them about yourself. With this video, they will get to know you better.
You May Also Like: How to Upload a Video to TikTok from Mac or PC>>>
Section 1. Make an Intro Video on TikTok (iPhone)
In case you are all set to create a Tiktok intro video, here are a few tips you need to follow.
• Including Audio
At the top of the screen, you will find the option ‘Sound’. This is where you can look through the music. When you are done choosing the song, decide where you would like it to start and play it when you record to sync the shots better. You can also add sound effects and voice-over.
At present, you can add one song per video inside the app. However, you always have the option to edit the videos using other apps to upload on TikTok.
In TikTok, you can work with multiple audio layers. For example, you have recorded the clip with in-camera audio, sound effect, music, and anything else you have added. The app will let you lower the camera’s audio volume while raising the music volume.
• Working with the Text
For adding title or text to the video, you have to use the Text button. This lets you choose the color, font, and size of the words. If you have used Instagram fonts, this will appear similar. Once you enter the words, choose where you would like to apply them on the screen. You can also set the time and length of the text appearing on the screen.
• Adding Effects
Effects are one of the special aspects of TikTok. There are two ways to use them, before or after recording. When you’re done recording the video, you can reverse it, speed it up, or add filters. The app also lets you apply an effect when you are recording.
Since TikTok videos are mostly viewed on smartphones, vertical orientation is the best option. However, horizontal orientation is also allowed on TikTok. The best aspect ratio will be 9:16 for TikTok videos so that they can be viewed properly on any smartphone. Last, but not least, the dimension has to be 1080 x 1920.
Section 2. Make a TikTok Intro Video on Mac
In case you are going off the platform, there are many video editor apps that you can use. With the help of the apps, you will be able to make better videos.
Let’s take a look at the top two video editors that will help you to get the best video for Tiktok.
1. Filmora X for Mac
To take your video to the next level, you can use Filmora. You can download the app on your phone. It is available for free on Google Play Store and App Store. The app will provide you with all the tools you need to edit the videos for Tiktok. 


Apart from featuring several stickers, effects, and filters, Filmora also has a music library that includes popular songs and sound effects. Its timeline will let you add audio tracks that make it easier for you to sync the video and audio assets that you want to use. Filmora is easy to use and only takes a few minutes to edit the video on this app.
Pros
• Offers voice recording options
• Supports multi-track video and audio editing
• Features a wide range of audio and visual effects
Cons
• Doesn’t offer a video recording option
2. iMovie
In the last twenty years, iMovie has turned out to be one of the most popular and reliable apps for Mac, iPhone, and iPad users who are prolific enough when it comes to video editing. With iMovie, you can choose from 8 different themes and 14 trailer templates. Hence, you will easily be able to mix multiple video clips and add a soundtrack.
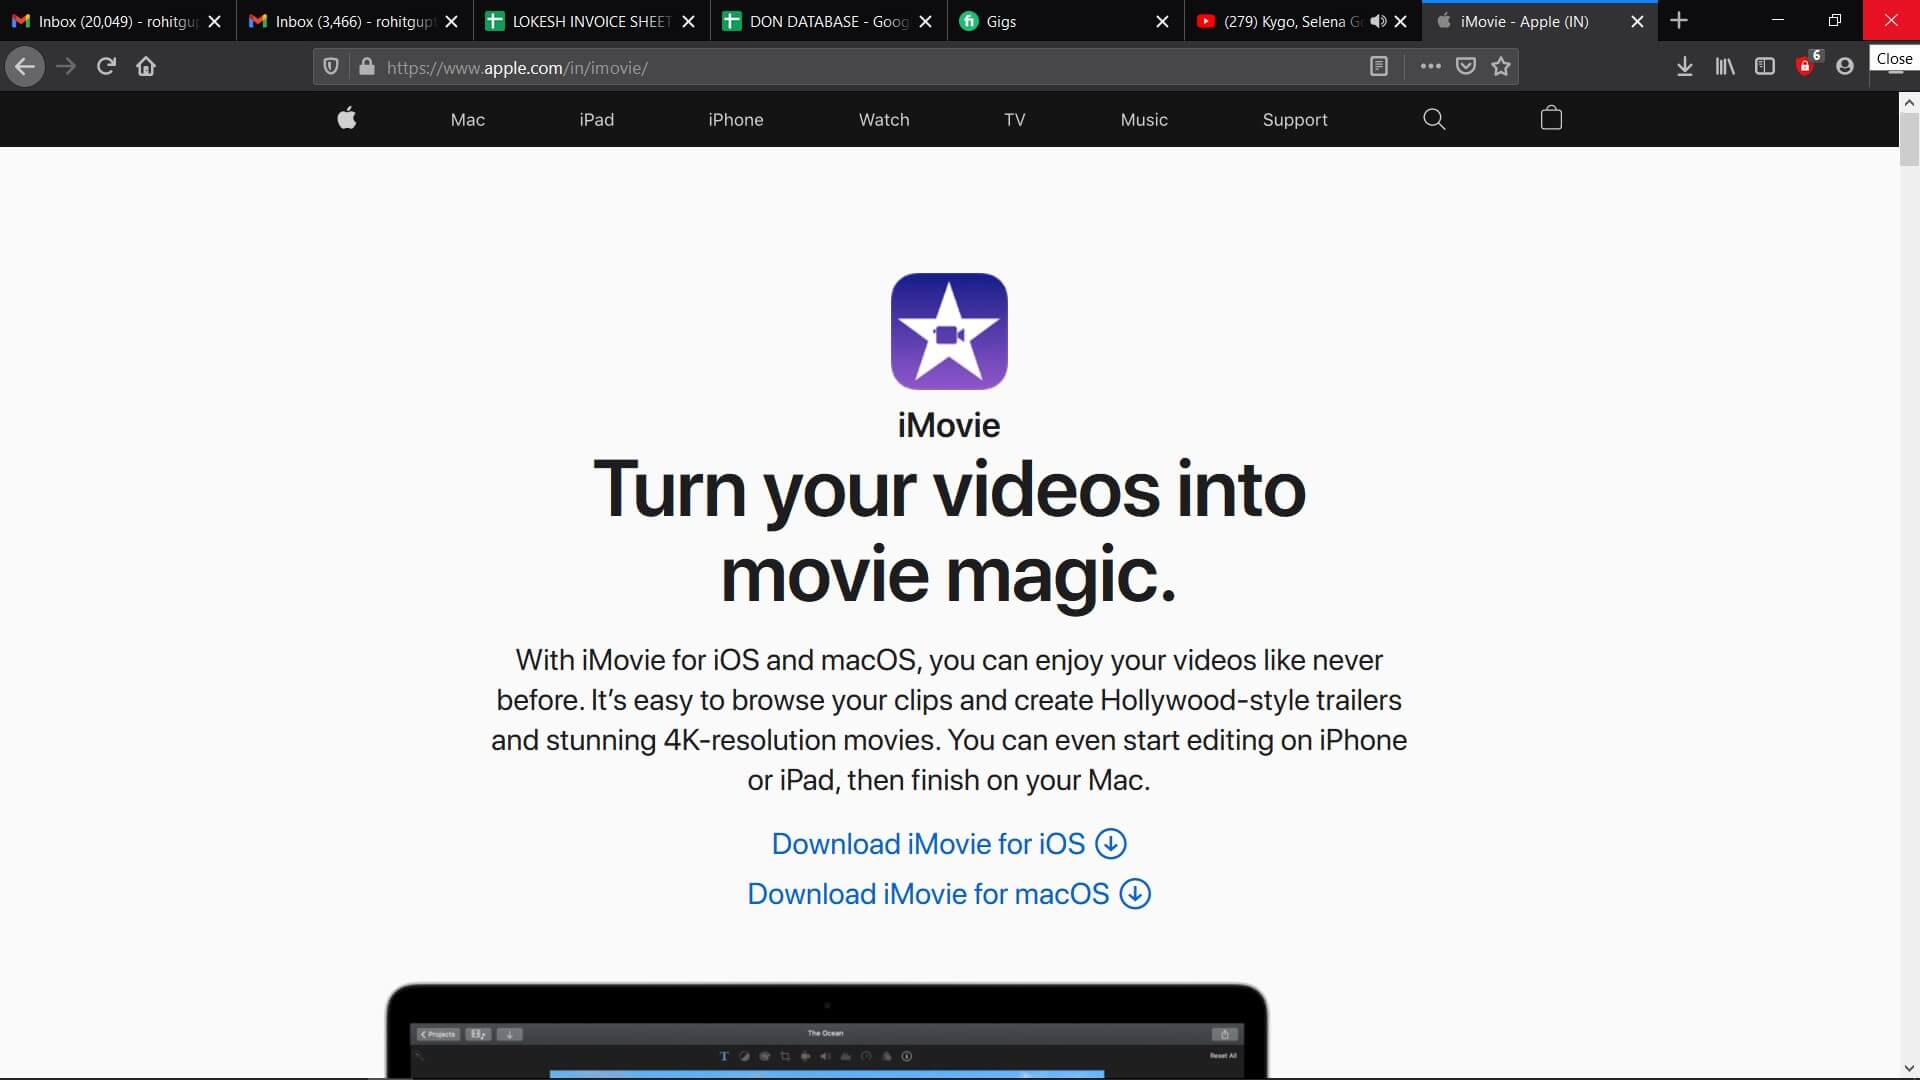
Additionally, the video editor for macOS and iOS will also give you access to the tools that you will require to cut your footage, green-screen effects, create PIP, or record voice overs for every video that you edit using the app. All these excellent features make the video editor the ideal choice if you would like to create short TikTok videos.
Pros
• Easy and free to use
• Incredible audio effect and music library
• Completely customizable trailer themes and templates
Cons
• Doesn’t let you add your own music to the projects
• Lacks advanced editing options
Conclusion
Tiktok is an app that already attracts millions of creators of the app and the popularity of the app has only grown over time. Also, it will continue to grow in time to come. Hence, if you would like to be a part of this fastest-growing social network, you have to ensure that the video that you are sharing stands out in the crowd.
The video editing apps that have been listed above will help in improving the clarity and quality of the videos that you are recording and plan to share on TikTok. To take your TikTok videos to the next level, experiment with different features that the video editors provide. However, your ultimate aim should be to make it more interesting.
Shanoon Cox
Shanoon Cox is a writer and a lover of all things video.
Follow @Shanoon Cox
Shanoon Cox
Oct 26, 2023• Proven solutions
Are you keen on starting your own TikTok journey? There is no two way about the fact that this app is the new kid in town. It is highly popular among the younger generation.
If you are a new TikToker, you need an introduction video. This has to be engaging enough to attract more and more followers. The primary aim of an introduction video is to say high to your followers and tell them about yourself. With this video, they will get to know you better.
You May Also Like: How to Upload a Video to TikTok from Mac or PC>>>
Section 1. Make an Intro Video on TikTok (iPhone)
In case you are all set to create a Tiktok intro video, here are a few tips you need to follow.
• Including Audio
At the top of the screen, you will find the option ‘Sound’. This is where you can look through the music. When you are done choosing the song, decide where you would like it to start and play it when you record to sync the shots better. You can also add sound effects and voice-over.
At present, you can add one song per video inside the app. However, you always have the option to edit the videos using other apps to upload on TikTok.
In TikTok, you can work with multiple audio layers. For example, you have recorded the clip with in-camera audio, sound effect, music, and anything else you have added. The app will let you lower the camera’s audio volume while raising the music volume.
• Working with the Text
For adding title or text to the video, you have to use the Text button. This lets you choose the color, font, and size of the words. If you have used Instagram fonts, this will appear similar. Once you enter the words, choose where you would like to apply them on the screen. You can also set the time and length of the text appearing on the screen.
• Adding Effects
Effects are one of the special aspects of TikTok. There are two ways to use them, before or after recording. When you’re done recording the video, you can reverse it, speed it up, or add filters. The app also lets you apply an effect when you are recording.
Since TikTok videos are mostly viewed on smartphones, vertical orientation is the best option. However, horizontal orientation is also allowed on TikTok. The best aspect ratio will be 9:16 for TikTok videos so that they can be viewed properly on any smartphone. Last, but not least, the dimension has to be 1080 x 1920.
Section 2. Make a TikTok Intro Video on Mac
In case you are going off the platform, there are many video editor apps that you can use. With the help of the apps, you will be able to make better videos.
Let’s take a look at the top two video editors that will help you to get the best video for Tiktok.
1. Filmora X for Mac
To take your video to the next level, you can use Filmora. You can download the app on your phone. It is available for free on Google Play Store and App Store. The app will provide you with all the tools you need to edit the videos for Tiktok.
Apart from featuring several stickers, effects, and filters, Filmora also has a music library that includes popular songs and sound effects. Its timeline will let you add audio tracks that make it easier for you to sync the video and audio assets that you want to use. Filmora is easy to use and only takes a few minutes to edit the video on this app.
Pros
• Offers voice recording options
• Supports multi-track video and audio editing
• Features a wide range of audio and visual effects
Cons
• Doesn’t offer a video recording option
2. iMovie
In the last twenty years, iMovie has turned out to be one of the most popular and reliable apps for Mac, iPhone, and iPad users who are prolific enough when it comes to video editing. With iMovie, you can choose from 8 different themes and 14 trailer templates. Hence, you will easily be able to mix multiple video clips and add a soundtrack.
Additionally, the video editor for macOS and iOS will also give you access to the tools that you will require to cut your footage, green-screen effects, create PIP, or record voice overs for every video that you edit using the app. All these excellent features make the video editor the ideal choice if you would like to create short TikTok videos.
Pros
• Easy and free to use
• Incredible audio effect and music library
• Completely customizable trailer themes and templates
Cons
• Doesn’t let you add your own music to the projects
• Lacks advanced editing options
Conclusion
Tiktok is an app that already attracts millions of creators of the app and the popularity of the app has only grown over time. Also, it will continue to grow in time to come. Hence, if you would like to be a part of this fastest-growing social network, you have to ensure that the video that you are sharing stands out in the crowd.
The video editing apps that have been listed above will help in improving the clarity and quality of the videos that you are recording and plan to share on TikTok. To take your TikTok videos to the next level, experiment with different features that the video editors provide. However, your ultimate aim should be to make it more interesting.
Shanoon Cox
Shanoon Cox is a writer and a lover of all things video.
Follow @Shanoon Cox
Step-by-Step Guide to Exceptional TikTok Clips
Whether sardonic, informative, or both, voiceovers can improve a TikTok video for humor and clarity.
What do sewing how-to videos, cooking tutorials, and daily vlogs have in common? They all probably are dependent on TikTok’s voiceover feature, which can be helpful in the inbuilt editing suite of the TikTok app.
Ever wished to record a TikTok and save it for later without letting the publisher know? Then, it is always the best idea to learn how to screen record on TikTok. This article will help you learn multiple ways of screen recording on TikTok without you having to worry about the other person knowing.
And, we’ll also look at how to do a voiceover on TikTok using the step-by-step guide mentioned below.
In this article
01 How to Screen Record on TikTok?
02 How to Add Voiceover to the TikTok Video?
03 Add Voiceover to TikTok Video with Extra Fusion: Wondershare Filmora
Part 1: How to Screen Record on TikTok?
Have you ever accidentally taken a screenshot of someone’s Instagram story or screen recorded it for future reference and got scared that the person may have got notified?
While Instagram had the feature of notifying users if their story or picture has been screen recorded, it has recently changed to restrict this notification to images and videos sent via private DMs.
However, TikTokers can rest assured as TikTok has never had a similar notification feature, and you can safely screen record TikTok without mentioning the publisher.
How to Record Computer Screens on Windows
PCs allow software products useful for various purposes. For example, if you would like to record your PC screen while using Windows-based software, you’ll be required a powerful screen recorder that lets you set up a new screencasting session in just a few simple steps.
Here are some of the steps you need to consider!
Step 1: Download Wondershare Filmora
Download Wondershare Filmora onto your computer and then launch the software.
Wondershare Filmora
Get started easily with Filmora’s powerful performance, intuitive interface, and countless effects!
Try It Free Try It Free Try It Free Learn More >

Just visit the browser and type the URL ‘tiktok.com’ in the search bar. Then, look for the TikTok video you would like to record.
Besides providing functions that activate you to control the screen recording procedure entirely, Wondershare Filmora is also a video editor program that lets you manipulate your videos in any way you want.
You must double-click on its desktop icon and open the Full Feature mode right after launching the software. Now, hit the Record tab and choose the Record PC screen option.
The Wondershare Screen Recorder window will appear on the screen so you can modify the settings for your upcoming screencasting session.

You’ll see the Settings icon in the window’s lower right corner and then click it. For example, you can select the computer’s hard drive destination where the recording will be saved, modify the frame rate or set the quality of the recording from the Quality drop-down menu.

Hit the Microphone icon to choose the mic you’ll be using to record narration, and you can select the Speakers icon if you want to disable or enable the computer’s speakers during the session of screen recording.
You’ll see the Settings icon in the window’s lower right corner and then click it. For example, you can select the computer’s hard drive destination where the recording will be saved, modify the frame rate or set the quality of the recording from the Quality drop-down menu.

Mark the Mouse checkbox if you wish the mouse clicks to display in the recording, and you can easily place the maximum duration of a recording session. It is done by inserting the preferred default screen recording duration into the Record Timer box.

Hit the Rec button to begin a new screencasting session, and the software will start recording after a three-second countdown.
Tap the F9 button on the keyboard to stop recording. It will automatically open the file in Filmora’s video editor so you can edit it before publishing online.
Part 2: How to Add Voiceover to the TikTok Video?
Steps to add a voiceover to your TikTok video.
Upload or record a new video by hitting the + at the menu’s center at the screen’s bottom area.
Hit the microphone icon on the screen’s upper right corner once you’re over with the recording and trimming clips to your desired edit. Beneath, the microphone icon must mention “Voiceover.”

Source: mashable.com
Now, you can record a voiceover timed to Video’s every frame here.
Hit the “Save“ button once you’re satisfied with the voiceover

Hitting the “Save“ button will offer you back to the video’s preview, where you can add filters, text, stickers, and various sounds.
It is needed to add effects to your voiceover by hitting the “voice effects”. Here, you can control the narrator’s volume as well.
Also, make sure to enable automatic captions to make sure your video is more accessible!
Tap the Next button once you’re over with your Video. Then, you can edit the Video’s privacy settings, add a caption, and select a cover.
Part 3: Add Voiceover to TikTok Video with Extra Fusion: Wondershare Filmora
Do you want to include your voice in a video, create a voiceover demo for sharing and uploading on social networking platforms, or frame a documentary for important content?
All you need is an ideal video editing program similar to the Wondershare Filmora Video Editor.
The Filmora’s voiceover feature allows you to record your voice or add voice-over files to Video easily. In addition, you can customize the pitch, speed, and volume of the recorded voiceover and apply fade-in and fade-out effects. I’ll share how to register and add voiceover to a video with Filmora on your computer in this post.
Firstly, you can edit your Video in Filmora and then record the voiceover afterward. Or, you can first record the voiceover and then edit the Video around.
Check the steps below on how to make TikTok videos with voiceover via Wondershare Filmora.
Wondershare Filmora
Get started easily with Filmora’s powerful performance, intuitive interface, and countless effects!
Try It Free Try It Free Try It Free Learn More >
Record Voiceover and Add it to Video
We suggest you record the voiceover first in most cases so the sound will become pretty natural.
Step 1: Connect Microphone to PC or laptop
Connect the microphone to your laptop/PC when you’re ready to begin. It’s advisable to use some professional external microphones to capture high-quality sound.
Step 2: Record voiceover
Tap the Wondershare Filmora icon to launch this software. Then, select the New Project option in the beginning interface to create a new one.
Enter the Record tab and choose the “Record a Voiceover” option to arouse the Record Audio windows.
Or hit the microphone icon, and you only need 3 seconds of countdown to begin speaking.
Click the microphone icon again after you finish the above. Then, a new Record file option will be automatically present on the audio track.
Step 3: Edit Recorded Voiceover to Video
To edit the recorded voiceover, you can adjust audio settings, such as changing the Speed, Pitch, Volume, etc.

You can cut and trim out unnecessary sound sections from the recorded voiceover or apply the fade effects to the voiceover for a smoother transition.
Step 4: Sync Voiceover to Video
Now, it’s time to synchronize the recorded voiceover to video to create a compelling video.
The Wondershare Filmora allows up to 100 audio tracks; you can also add some background music to the voiceover.
Then import and drag-n-drop the video content to the video track, drag and drop the soundtrack to the video’s right-side position. Keep the voice and video track in the exact video duration if required.
Here’s how to sync voiceover to video!
Now, sync the recorded voiceover to Video to create a video. Since Filmora is compatible with 100 plus audio tracks, you can add different background music to the voiceover.
Then import and drag-n-drop the video content to the video track, drag and drop the soundtrack to the Video’s right side position. You can keep the Video and audio track in the same video duration.

Note: If you’ve recorded the iPhone voiceover or other device already, you can import it in the Project Library if you wish to add it to the Video and then sync it to Video.
Here is the ultimate step-by-step guide about adding titles to videos after knowing how to do a voiceover on TikTok.
Step 5: Export and save the new file
Click the “Export“ tab to export your new video file after you complete the project. You can either save the Video to different formats or directly share it on other social media platforms.
Additionally, you can even burn a DVD in minutes to watch it on TV.
How to Record and Add Voice over File during Filmora’s Video Editing Process
If you’ve recorded the voice over on your iPhone or another device already, even via the Wondershare Filmora, and wish to add it to the Video, visit the steps mentioned below:
1. Upload the video to Filmora
After logging in to Filmora’s main editing interface, click “Import” or drag-drop your video and voiceover file to the project library.
Filmora video editing software is compatible with a vast range of formats, so there will be no need to convert the files before import.
Drag and drop the files or video content to the Video Timeline when all the files get imported.
2. Record Voiceover in Video Editing
3. Edit voiceover and Export
You can then edit the recorded voiceover for TikTok to perfectly fit the Video and export it to your laptop/PC or directly upload it to YouTube.
For improving the sound, Filmora features more audio editing tools.
Conclusion
This article offered you a step-by-step guide on how to record a TikTok. It also displays four different screen recording methods, along with how to do a voiceover on TikTok.
Now, don’t ever worry about losing out on your favorite TikTok without the original publisher knowing via screen record TikTok via Wondershare Filmora.
02 How to Add Voiceover to the TikTok Video?
03 Add Voiceover to TikTok Video with Extra Fusion: Wondershare Filmora
Part 1: How to Screen Record on TikTok?
Have you ever accidentally taken a screenshot of someone’s Instagram story or screen recorded it for future reference and got scared that the person may have got notified?
While Instagram had the feature of notifying users if their story or picture has been screen recorded, it has recently changed to restrict this notification to images and videos sent via private DMs.
However, TikTokers can rest assured as TikTok has never had a similar notification feature, and you can safely screen record TikTok without mentioning the publisher.
How to Record Computer Screens on Windows
PCs allow software products useful for various purposes. For example, if you would like to record your PC screen while using Windows-based software, you’ll be required a powerful screen recorder that lets you set up a new screencasting session in just a few simple steps.
Here are some of the steps you need to consider!
Step 1: Download Wondershare Filmora
Download Wondershare Filmora onto your computer and then launch the software.
Wondershare Filmora
Get started easily with Filmora’s powerful performance, intuitive interface, and countless effects!
Try It Free Try It Free Try It Free Learn More >
Just visit the browser and type the URL ‘tiktok.com’ in the search bar. Then, look for the TikTok video you would like to record.
Besides providing functions that activate you to control the screen recording procedure entirely, Wondershare Filmora is also a video editor program that lets you manipulate your videos in any way you want.
You must double-click on its desktop icon and open the Full Feature mode right after launching the software. Now, hit the Record tab and choose the Record PC screen option.
The Wondershare Screen Recorder window will appear on the screen so you can modify the settings for your upcoming screencasting session.
You’ll see the Settings icon in the window’s lower right corner and then click it. For example, you can select the computer’s hard drive destination where the recording will be saved, modify the frame rate or set the quality of the recording from the Quality drop-down menu.
Hit the Microphone icon to choose the mic you’ll be using to record narration, and you can select the Speakers icon if you want to disable or enable the computer’s speakers during the session of screen recording.
You’ll see the Settings icon in the window’s lower right corner and then click it. For example, you can select the computer’s hard drive destination where the recording will be saved, modify the frame rate or set the quality of the recording from the Quality drop-down menu.
Mark the Mouse checkbox if you wish the mouse clicks to display in the recording, and you can easily place the maximum duration of a recording session. It is done by inserting the preferred default screen recording duration into the Record Timer box.
Hit the Rec button to begin a new screencasting session, and the software will start recording after a three-second countdown.
Tap the F9 button on the keyboard to stop recording. It will automatically open the file in Filmora’s video editor so you can edit it before publishing online.
Part 2: How to Add Voiceover to the TikTok Video?
Steps to add a voiceover to your TikTok video.
Upload or record a new video by hitting the + at the menu’s center at the screen’s bottom area.
Hit the microphone icon on the screen’s upper right corner once you’re over with the recording and trimming clips to your desired edit. Beneath, the microphone icon must mention “Voiceover.”
Source: mashable.com
Now, you can record a voiceover timed to Video’s every frame here.
Hit the “Save“ button once you’re satisfied with the voiceover
Hitting the “Save“ button will offer you back to the video’s preview, where you can add filters, text, stickers, and various sounds.
It is needed to add effects to your voiceover by hitting the “voice effects”. Here, you can control the narrator’s volume as well.
Also, make sure to enable automatic captions to make sure your video is more accessible!
Tap the Next button once you’re over with your Video. Then, you can edit the Video’s privacy settings, add a caption, and select a cover.
Part 3: Add Voiceover to TikTok Video with Extra Fusion: Wondershare Filmora
Do you want to include your voice in a video, create a voiceover demo for sharing and uploading on social networking platforms, or frame a documentary for important content?
All you need is an ideal video editing program similar to the Wondershare Filmora Video Editor.
The Filmora’s voiceover feature allows you to record your voice or add voice-over files to Video easily. In addition, you can customize the pitch, speed, and volume of the recorded voiceover and apply fade-in and fade-out effects. I’ll share how to register and add voiceover to a video with Filmora on your computer in this post.
Firstly, you can edit your Video in Filmora and then record the voiceover afterward. Or, you can first record the voiceover and then edit the Video around.
Check the steps below on how to make TikTok videos with voiceover via Wondershare Filmora.
Wondershare Filmora
Get started easily with Filmora’s powerful performance, intuitive interface, and countless effects!
Try It Free Try It Free Try It Free Learn More >
Record Voiceover and Add it to Video
We suggest you record the voiceover first in most cases so the sound will become pretty natural.
Step 1: Connect Microphone to PC or laptop
Connect the microphone to your laptop/PC when you’re ready to begin. It’s advisable to use some professional external microphones to capture high-quality sound.
Step 2: Record voiceover
Tap the Wondershare Filmora icon to launch this software. Then, select the New Project option in the beginning interface to create a new one.
Enter the Record tab and choose the “Record a Voiceover” option to arouse the Record Audio windows.
Or hit the microphone icon, and you only need 3 seconds of countdown to begin speaking.
Click the microphone icon again after you finish the above. Then, a new Record file option will be automatically present on the audio track.
Step 3: Edit Recorded Voiceover to Video
To edit the recorded voiceover, you can adjust audio settings, such as changing the Speed, Pitch, Volume, etc.
You can cut and trim out unnecessary sound sections from the recorded voiceover or apply the fade effects to the voiceover for a smoother transition.
Step 4: Sync Voiceover to Video
Now, it’s time to synchronize the recorded voiceover to video to create a compelling video.
The Wondershare Filmora allows up to 100 audio tracks; you can also add some background music to the voiceover.
Then import and drag-n-drop the video content to the video track, drag and drop the soundtrack to the video’s right-side position. Keep the voice and video track in the exact video duration if required.
Here’s how to sync voiceover to video!
Now, sync the recorded voiceover to Video to create a video. Since Filmora is compatible with 100 plus audio tracks, you can add different background music to the voiceover.
Then import and drag-n-drop the video content to the video track, drag and drop the soundtrack to the Video’s right side position. You can keep the Video and audio track in the same video duration.
Note: If you’ve recorded the iPhone voiceover or other device already, you can import it in the Project Library if you wish to add it to the Video and then sync it to Video.
Here is the ultimate step-by-step guide about adding titles to videos after knowing how to do a voiceover on TikTok.
Step 5: Export and save the new file
Click the “Export“ tab to export your new video file after you complete the project. You can either save the Video to different formats or directly share it on other social media platforms.
Additionally, you can even burn a DVD in minutes to watch it on TV.
How to Record and Add Voice over File during Filmora’s Video Editing Process
If you’ve recorded the voice over on your iPhone or another device already, even via the Wondershare Filmora, and wish to add it to the Video, visit the steps mentioned below:
1. Upload the video to Filmora
After logging in to Filmora’s main editing interface, click “Import” or drag-drop your video and voiceover file to the project library.
Filmora video editing software is compatible with a vast range of formats, so there will be no need to convert the files before import.
Drag and drop the files or video content to the Video Timeline when all the files get imported.
2. Record Voiceover in Video Editing
3. Edit voiceover and Export
You can then edit the recorded voiceover for TikTok to perfectly fit the Video and export it to your laptop/PC or directly upload it to YouTube.
For improving the sound, Filmora features more audio editing tools.
Conclusion
This article offered you a step-by-step guide on how to record a TikTok. It also displays four different screen recording methods, along with how to do a voiceover on TikTok.
Now, don’t ever worry about losing out on your favorite TikTok without the original publisher knowing via screen record TikTok via Wondershare Filmora.
Also read:
- In 2024, Transform Your TikTok Voice with Ease
- 2024 Approved Legitimate Solutions for TikTok Following
- [New] In 2024, Triple Thrills Novel Bio Techniques and Engaging Formats to Boost Your TikTok-Filmora Following
- [Updated] 2024 Approved Tickle-Me Trendsetters Top 20 Hilarious TikTok Jokes & Riddles
- [New] In 2024, Epic Battles & Dynamic Choreography for TikToks
- In 2024, Dynamic Dynamics Groundbreaking Bio Formats that Expand Follower Numbers on TikTok-Filmora
- [New] Top 10 Edge-Enhancing TikTok Filters for Striking Visuals for 2024
- [Updated] In 2024, Add Context and Meaning with Strategic Text Overlays on TikTok Videos
- Optimizing Your Brand's Presence on TikTok Through Targeted Advertising for 2024
- Cultivating Brand Visibility Effective TikTok Marketing for Growth
- Revolutionize Your Brand with TikTok Marketing Actionable Techniques & Inspirational Cases for 2024
- Immediate Solutions for Freezing and Crashing TikTok (iOS/Android) for 2024
- [Updated] Mac-Assisted OOTD Videography Secrets Revealed
- [New] 2024 Approved How to Join Someone’s Live on TikTok as a Guest
- In 2024, Ethical and Safe TikTok Following Hacks
- [Updated] Unlocking TikTok Stream Potential 3 Key Steps on Laptops
- [New] 2024 Approved How to Make Duet On TikToK?
- [New] 2024 Approved The Latest Alternatives to TikTok That Are Making Waves
- 2024 Approved Wild Wonders The Ultimate List of Strange and Exciting TikTok Games
- [New] Beats at Breakneck Speed The Fastest-Rising TikTok Hits for 2024
- [New] 2024 Approved Prankster Peak Standout Comedians of the Week
- Trailblazing TikTok Profile Features to Become Iconic
- Fake the Location to Get Around the MLB Blackouts on Xiaomi Redmi 12 5G | Dr.fone
- In 2024, 5 Ways Change Your Home Address in Google/Apple Map on Apple iPhone 12 Pro/iPad | Dr.fone
- Top 5 Tracking Apps to Track HTC U23 without Them Knowing | Dr.fone
- [Updated] In 2024, Elite iPad Speech Recording Tools #3
- [Updated] Precise Documentation How to Record Full FBM Calls
- [Updated] Elite Offline Screen Capturing Apps for PC for 2024
- [Updated] 2024 Approved Decelerate Creativity Your Path to Spectacular IG Reels
- [New] Secrets Unlocked Convenient Google Meet Arrangement
- new How to Translate Audio/Video Content from Spanish to English and vice versa?
- [New] In 2024, Quick & Easy Twitter to Snapchat Video Sharing Tips
- [New] Simple Guide to Effective & Smooth Iphone Screen Recordings
- [Updated] Learn to Record and Save Videos From Webcam for 2024
- [New] The Art of Enticing Instagram Followers A Puzzle Post Primer for 2024
- The How-To for Harnessing HD Video From Facebook Feeds
- [Updated] Engage, Grow, and Rise Triple Threat Tactics for Facebook Pages for 2024
- In 2024, Unlocking Fullscreen Footage Screen Recording Made Simple for Mac Users
- [Updated] Multiplying Joy Sharing a Pile of Photos & Videos with Instagram for 2024
- Title: "Maximizing Your TikTok Intro A Mac Guide for 2024"
- Author: Stephen
- Created at : 2024-05-23 03:02:51
- Updated at : 2024-05-24 03:02:51
- Link: https://tiktok-video-recordings.techidaily.com/maximizing-your-tiktok-intro-a-mac-guide-for-2024/
- License: This work is licensed under CC BY-NC-SA 4.0.
